
  |
NOTE: This feature is available in the Professional and Enterprise versions of Stratus Desktop. |
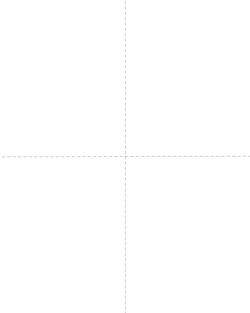
A Print Layout is used to lay out one image multiple times on a single sheet (e.g., four 4×5 on an 8×10 sheet) during the render/print process. See also: Printing Workflow Overview
Layouts are created with the software’s Digital Template Builder.
Key Ideas #
- Each node (or “drop zone”) of a layout must contain the same image. You cannot mix-and-match images in a layout. If you want to use more than one image, use a Composite Template instead. See also: Designing Composite Templates
- If the aspect ratio of the image doesn’t match a zone on the layout, the software will center crop the image to fit.
- You can use single images or composite images within a layout.
Designing a Print Layout #
-
Go to Tools > Design Tools > Digital Template Builder.
-
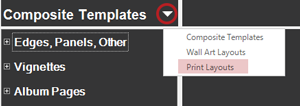
Open the Print Layouts set from the drop-down list.
-
If desired, create groups to organize your layouts. To create a new layout group, click New Group on the ribbon.
-
Click New Template to create a new layout.
-
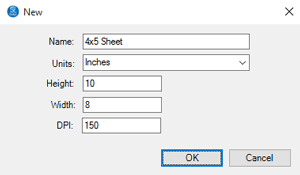
Give the layout a name and enter the overall dimensions. Click OK when done.
-
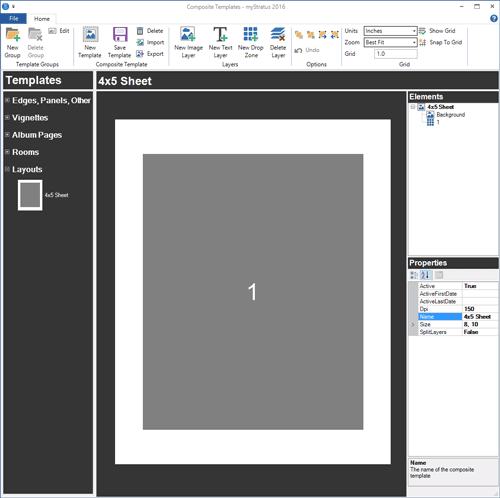
The new layout template will contain a background layer and one drop zone layer.
-
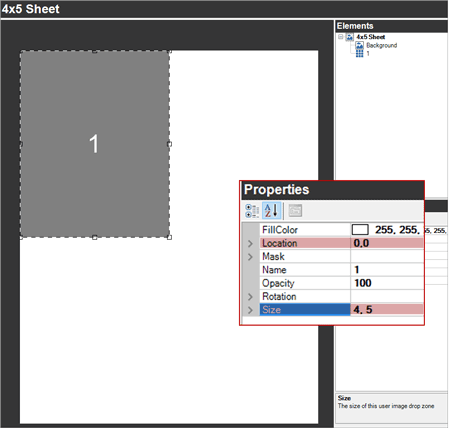
Click on the drop zone and use your mouse to drag it to the upper-left corner of your sheet. Now look at the Properties list in the lower-right portion of the screen. The Location of the zone should be “0,0”. If it’s a little off, manually type in the location to position it in the corner.
HERE’S A FLASH FOR YOU!Click Snap to Grid on the ribbon to make positioning and sizing your drop zones easier!
-
Now use the Size field (also in the Properties list) to adjust the size of the drop zone to exactly the right dimensions. For example, on a 4×5 sheet, the size of the drop zone should be “4.0,5.0”. Your template should look like this:
-
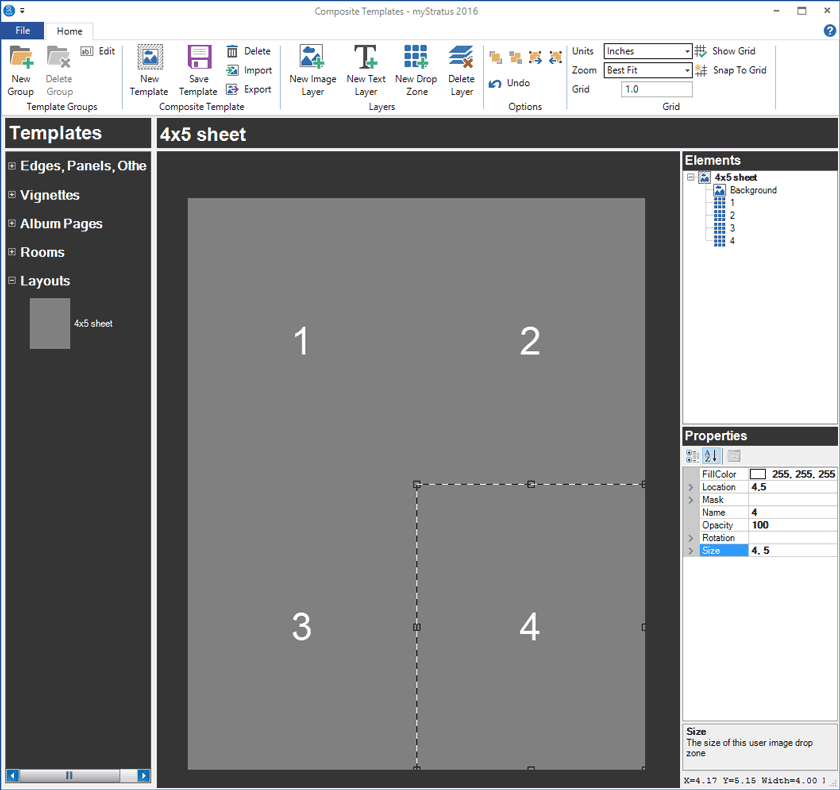
Add additional drop zones as needed and adjust the Location and Size of each drop zone. In the example of a 4×5 sheet pictured below, the drop zones have the following values:
Zone Location Size 1 0,0 4.0,5.0 2 4,0 4.0,5.0 3 0,5 4.0,5.0 4 4,5 4.0,5.0 -
Click Save Template to save your layout.
-
Close the window when finished.
Example Print Layout: 4×5 Sheet #
Here’s a finished layout template for an 8×10 sheet containing four 4x5s.
Adding Print Layouts to Price List Items #
-
Go to Maintenance > Price List > Price Lists.
-
Click on the price list you want to set up.
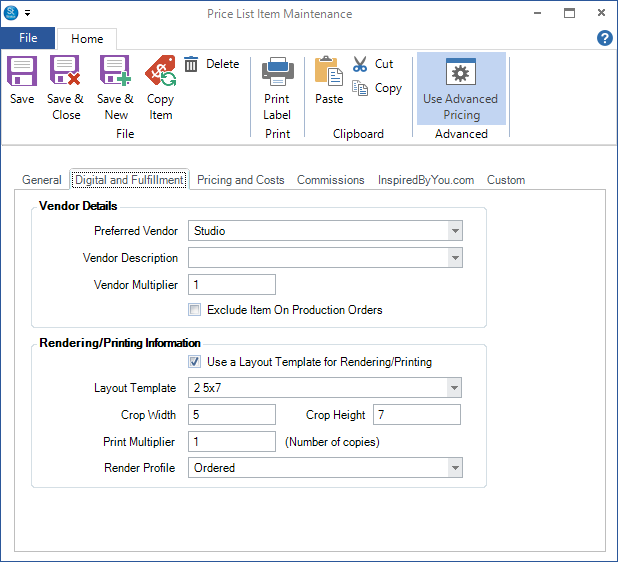
- Open the first print item and click on the Digital and Fulfillment tab.
-
Complete the Vendor Details section. Note: Choosing a Preferred Vendor is very important when using production orders! Production orders are created from an invoice based on the vendor selection. We recommend creating a “Studio” or “InHouse” vendor and selecting it here for each item that will be printed at the studio. See also: Vendors
-
The Rendering/Printing Information section contains several settings that are required and some that are optional. Choose the appropriate options for this item:
-
Layout Template – (optional) Use this for an item that prints as a sheet (i.e., sheet of wallets) and that you’ve already created a layout template for. Check the Use Layout Template box and then choose the appropriate layout from the drop-down list.
-
Print (or Crop) Width/Height –
-
For single prints, enter the print width/height. These settings are used to properly prepare the image for printing.
-
For sheets (using a layout template), enter the crop width/height. Crop settings are used by the cropping tool to properly size the images on the sheet. For a mixed size layout (i.e., one 5×7 and two 4x5s), use the most restrictive crop ratio. See also: Cropping
-
Print Multiplier – (required) The default setting is “1.” Modify this only in special situations.
- Render Profile – (required) Choose the render profile that should be used for this item.
-
Save and close the item when finished.
-
Repeat for each print item in your price list.
-
Close the price list window when finished.