
#
You can customize all thelist-style hubs in the software – Clients, Sessions, Invoices, Calls, Messages, Tasks, and Production. The Home page, Workflow, and Calendar hubs have different options to choose right on the toolbar. The hub customization features give you tremendous flexibility and control over how you view your data.
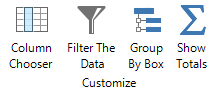
When you customize a hub, the changes will only apply to the logged in user. Other users will not see these changes when using their own Stratus Desktop user login.
Choosing Columns #
You can customize a hub by changing which columns are displayed on the screen.
-
In the Customize group of the ribbon, click Column Chooser.
-
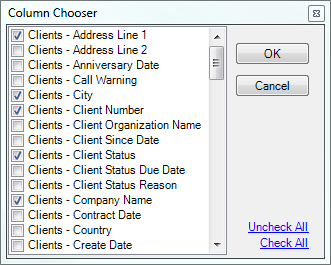
The Column Chooser will appear, giving you a list of columns that you can choose to display or hide.
-
Click the box to the left of the field name to select or de-select the column. Selected columns will appear on the hub. De-selected columns will not be displayed.
-
Click OK to return to the hub.
After you have selected the columns you want to view, you can change the order in which the columns appear on the hub. To do this, click and drag each column header to the desired location. Note: Make sure you have selected all the columns you want to view before re-ordering the columns. If you go back and select a new column with the Column Chooser, the order of the columns will revert to the default order.
Filtering the Data #
The hubs include a filter tool to quickly filter your data on-the-fly. For example, you may want to see just those records that are at a certain status. Note: To create advanced filters, as well as filters that can be saved and reused, use the Filter Builder tool. For more information, read the Filter Builder section.
-
In the Customize group of the ribbon, click Filter the Data.
-
A filter symbol
 will appear in each column header of the hub.
 -
You can choose to filter the data for any column that is visible. Click the filter symbol in the column you wish to filter.
-
Choose how you want to filter the column:
-
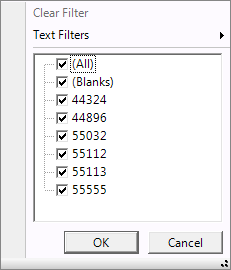
Simple Filter – Simply check or uncheck criteria in the list to include or exclude it from the filter. In addition to All and Blanks, the software provides a list of each unique value that appears in the selected field in the data that is currently displayed on the hub. Click OK to see the filter results displayed on the hub.
-
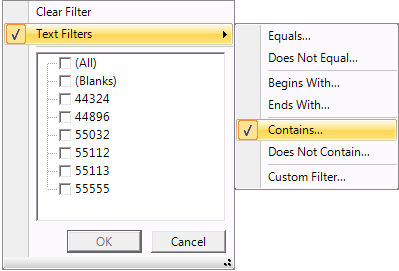
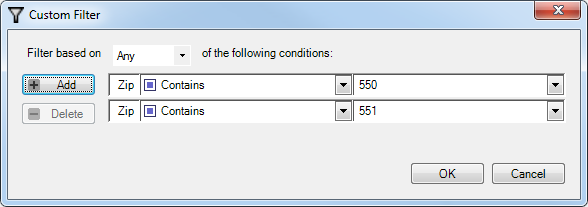
Text Filter – Use the Text Filter option if you want to choose an different operator and/or enter a value that’s not on the list. For example, you may want to filter just the zip codes beginning with 550. It would be impractical to select them one-by-one on the list. Instead, go to Text Filters > Contains. The Custom Filter page will open and you can enter a value of “550” in the last column. You can add additional conditions here if desired. Click OK to see the filter results displayed in the hub.
Grouping the Records #
Use the Group By Box tool to group the displayed records by a specific column.
-
In the Customize group of the ribbon, click Group By Box.
-
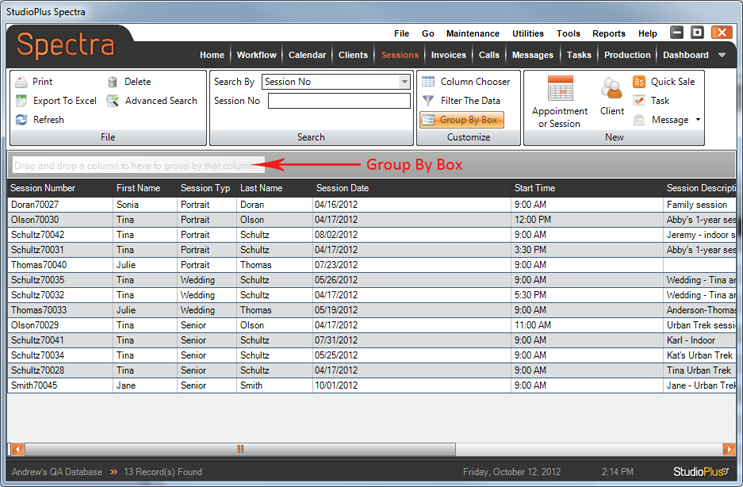
The Group By Box will appear at the top of the hub grid.
-
Drag any column and drop it into the Group By Box to group the records by that column. For example, on the Sessions hub you can drag the Session Type column to the Group By Box to quickly sort your sessions by type.
Displaying Totals #
The Invoices hubincludes an option to Show Totals. The software displays a total for any column containing dollar amounts.
-
In the Customize group of the ribbon, click Show Totals.
-
A total will be displayed for any column containing dollar amounts, such as Invoice Total or Invoice Open Balance. Tip: Use this option in combination with the Group By Box and the software will display totals for each group.
Splitting the Grid #
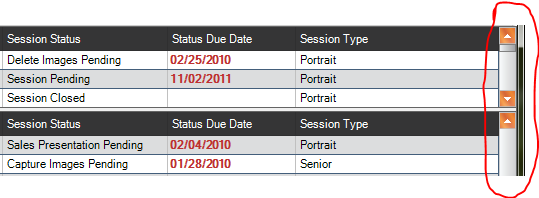
Use the Grid Splitter bars to scroll through more columns or rows by dividing the grid – either vertically, horizontally,
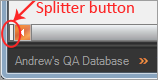
or both. Hover your cursor over the splitter button next to the scroll bar. Your cursor will change to a line with two arrows and you can then click and drag to move the splitter bar.
View either columns or rows in a split screen to scroll through additional records or columns.
Additional Options #
Right-click on a column to see additional options, including:
-
Sort Ascending
-
Sort Descending
-
Summary – Total, Average, Minimum, Maximum, and Count
-
Group By This Field
-
Group By Box
-
Clear All Group Bys
-
Filter The Data
-
Clear All Filters
-
Hide This Column
-
Column Chooser
-
Best Fit
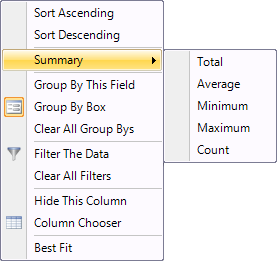
Right-Click Options