
#
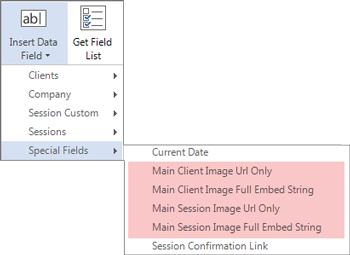
Adding a representative image to a client’s individual sessions (and/or to their client record) can be fun and useful. Using a unique image for each session can remind you about the client and their photography history with your studio. The main session image and main client image are stored in your database and can be merged into HTML emails. See also: HTML Email Builder
Choosing a Main Session Image #
Follow these steps to insert and change the session image:
-
Open a session.
-
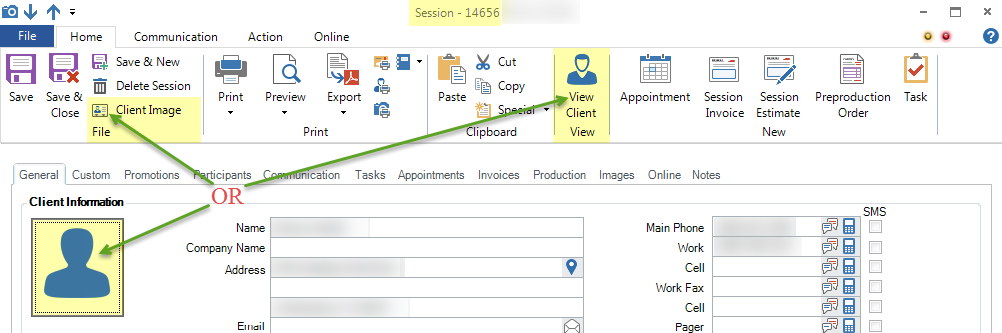
Click the picture icon to the left of the client name or click Client Image on the ribbon.
-
Use the file browser to find an image for the session.
-
Click Open to make that image the main session image.
-
To change the image, click the photo to reopen the file browser and choose another image.
-
You can also click View Client on the ribbon to open the client record as well. From the open client record you can choose another image to serve as the main client image. See also: Personalize a Client Record with an Image
-
Save and close the session and client records when finished.