
#
The Invoice Wizard will help you to enter your invoice information quickly and easily. You can start the Invoice Wizard by creating a new invoice from a Client or from a Session.
You can customize the wizard for your studio by using the Wizard Builder tool. You may want to eliminate or add pages to the wizard, change what the message says on each page, or adjust other options. Go to Tools > Design Tools > Wizard Builder.
YES, IT DOES! An invoice should almost always be created from a Session record. The only time you should create an invoice from a Client record is if this client is purchasing a product or service from you, but has not completed a session. An example of when to create a client-based invoice is when a customer walks in off the street and wants to purchase a frame. When creating a session-based invoice, make sure you are creating the invoice from the actual session record the invoice pertains to.
Creating an Invoice with the Invoice Wizard #
-
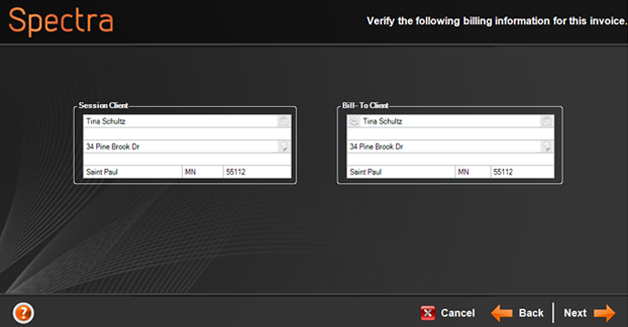
Verify the Client Information. If someone other than the session client will be responsible for paying this invoice (i.e., bride’s parents, grandpa and grandma, etc.) click the person icon in the Bill-To Client section to change the Bill-To Client information. You will be able to search for another client in your database or create a new one. Click Next.
-
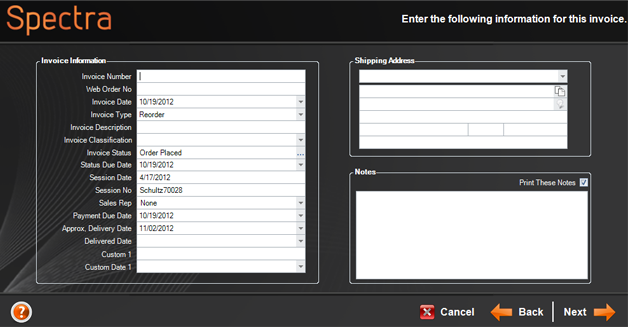
Enter the Invoice Information, including a Shipping Address and Notes. Click Next.
-
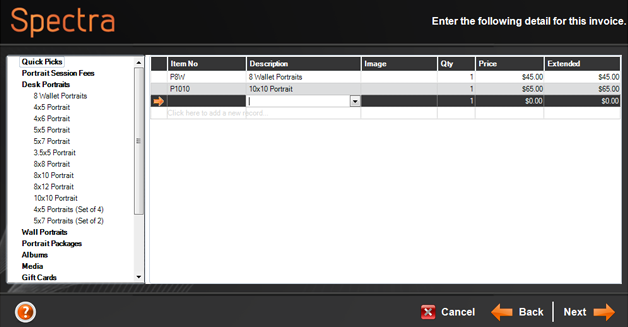
Add items to the invoice by double-clicking them in the product list on the left. Select images and adjust quantities in the invoice detail section on the right. Click Next when finished adding items to the invoice.
-
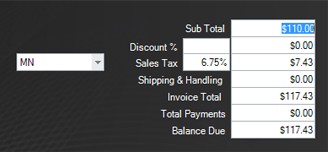
Enter a Discount as needed and modify the Sales Tax State if necessary. Click Next.
-
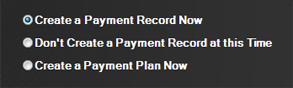
Select your Payment options. You can create a single payment, a payment plan, or simply choose to finish creating the invoice without a payment. Make your selection and click Next.
-
If you choose to create a payment or payment plan, the wizard will walk you through those steps.
-
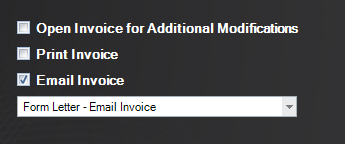
On the final page of the Invoice Wizard, choose whether you want to print or email the invoice and/or open it for further modifications. Note: An image detail sheet will automatically print along with the invoice. If you don’t want to print the detail sheet, change your Printing Preferences for Invoice Image Detail to “0” copies. See also: Printing Preferences
-
Click Finish.
See Invoice How To’s for more information on creating and managing invoices.
When entering information into the wizards, you’ll find that the software automatically capitalizes the first letter and un-capitalizes the rest of the letters. For example, if you type “sara johnson,” the software will change it to “Sara Johnson” when you tab to the next field. If you don’t want the software to change the capitalization of an entry, press the F3 key instead of the tab key when moving to the next field. For example if you don’t want “John McDonald” changed to “John Mcdonald,” press the F3 key to move to the next field.