#
  |
NOTE: This feature is available in the Professional and Enterprise versions of Stratus Desktop. |
Use the software’s HTML Email Builder to build a set of HTML emails and newsletters to send to your clients and prospects, either individually or in bulk. An HTML email works just like a web page, allowing you to include images, fonts, and links to your studio website. When you send HTML emails using Stratus, you can merge a variety of information from your database to personalize the emails, as well as keep track of who was sent an email and when. Using the software for your HTML emails allows you utilize the information you already have in Stratus to personalize, target, and track your marketing emails.

HTML Email Sample
Before You Begin #
There are two important questions to answer before you being building your HTML emails in Stratus:
-
How will we create the HTML code? Unless you are an HTML programmer, creating an HTML email that looks good in multiple browsers and email programs can be very tricky. Here are a couple options to consider:
-
One option is to have your website designer help you create an initial HTML email and/or newsletter that you can use as a template. Your designer will be able to carry over some of your studio’s branding and design elements to your emails and show you how to create new versions from your template.
-
Another great option is to use an HTML email designer. One option is to utilize SendGrid to build your HTML emails. This is the power behind our StudioPlus Mail service, and they offer a mobile-friendly HTML builder available to their users. Emails created in MailChimp can also be exported as HTML and imported into Stratus.
-
Where will the images in the emails be hosted? Each image you include in an HTML email must be saved (hosted) on a public server on the web. If the image cannot be found when a recipient opens the email, they’ll see a big red “X” or some other message in place of the actual image you intended them to see. So you need to decide where these images will be hosted. Also, no matter where your images are hosted, you need to make sure each link in your HTML code (including image links) contains a complete URL (i.e., “http://www.thestudio.com/……”) and not a relative link (i.e., “…/images/picture.jpg” or “file:///studio/users/……”). Links should always start with “http://www….”
-
The HTML Email Builder provides a built-in tool to upload the images in your email to your personal Stratus Drive. In addition to uploading the images, the software will also take care of updating all the image links in your email, making sure they refer to the image location on your Stratus Drive. This is the option we recommend.
-
Another hosting option is to create a folder on your website for the images. You then need to make sure your procedure for creating your HTML emails includes saving a copy of each image to that folder. This process should be set up and coordinated with your website designer.
-
Another option is to use an image hosting service. If you use a HTML email designer like High Impact Email or MailChimp, free image hosting may be included. When you create a email using the design program and export it to HTML, the images will automatically be uploaded to the free hosting site and the links will be correct. Then you just need to import the email into Stratus (step 7, below).
Building an HTML Email in Stratus #
-
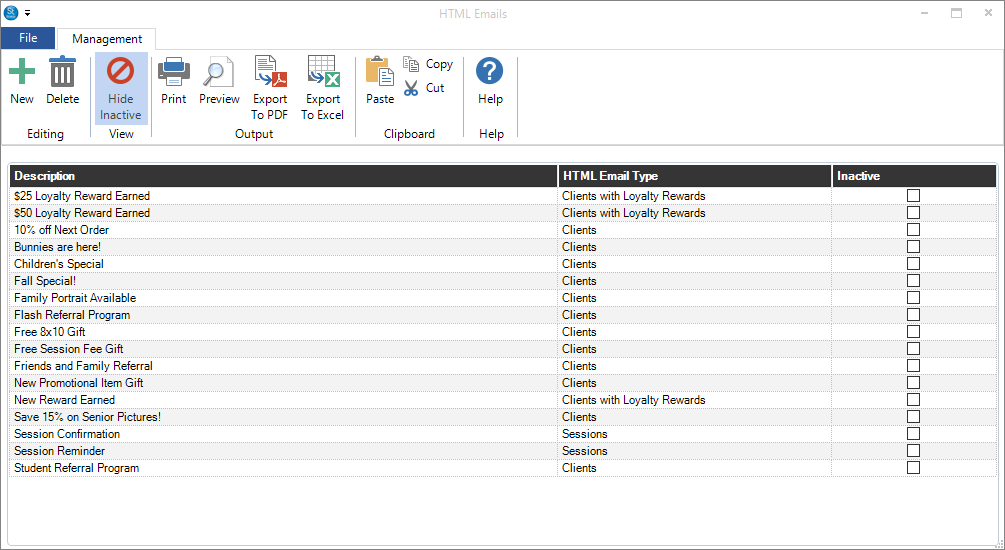
To build an HTML email in Stratus, go to Tools > Design Tools > HTML Email Builder.
-
Click New on the ribbonto create a new HTML email.
-
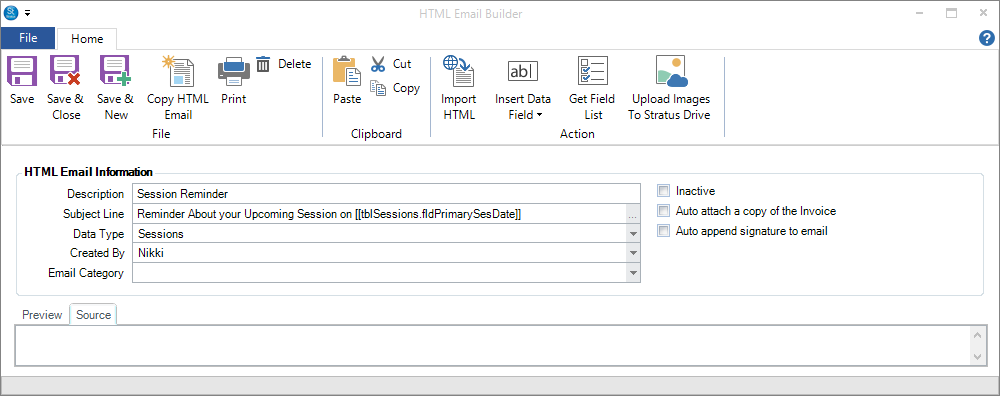
The HTML Email Builder will open.
-
Type the Description of the email and the Subject Line. Select the … to include any Merge Fields in the subject line.
-
Next select the Data Type. The data type you choose will determine which merge fields will be available for this email, as well as who you can send the email to when sending it to a single client. For example if you select a client data type, you will only have client information available to merge (not session or invoice information) and you will be able to send the email just from a client record. If you select a session data type, you will be able to merge both client and session information and you’ll send the email from a session record. All data types are available when using the Communication Wizard to send bulk emails.
-
Select the user who is creating the email and what Email Category this email should fall under. See also: Email Categories
-
Choose if you want to append an email signature. You can also make an HTML email inactive in order to keep it from appearing in the various HTML email drop-down lists throughout the software.
-
Next, there are a couple options for creating the body of the email.
- You can click Import HTML to import HTML code that has been saved on your computer. For example, this could be an email or newsletter that your web designer has created for you or an email you’ve exported from a service such as MailChimp. You’ll browse out to the file and click to import the code.
- The other option is to copy (Ctrl+C) the HTML code from within another program – like Dreamweaver or High Impact Email – and then paste (Ctrl+V) it into the Source tab in the HTML Email Builder.
-
Once your HTML code has been imported or pasted, you can click the Source tab to see the code or click the Preview tab to see a preview of the email.
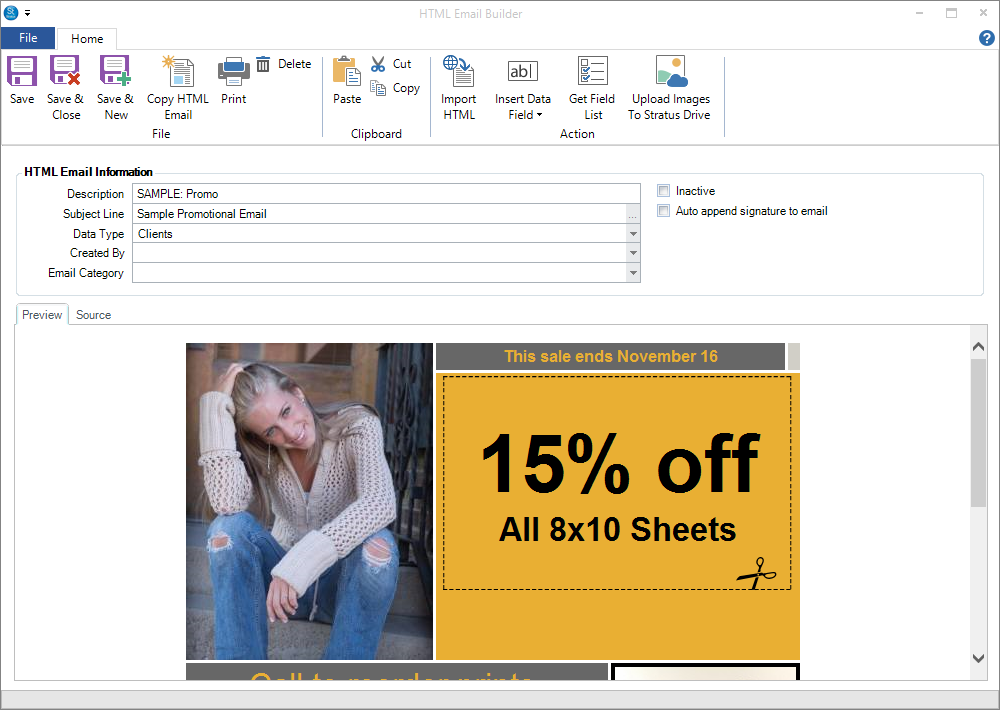
HTML Email Builder – Preview
-
You may want to insert merge fields, such as the client’s name or the session date, to personalize the email. There are three ways to do this:
-
On the Source tab, you can add merge fields directly into the HTML code. Place your cursor in the correct place in the code and click Insert Data Field. Then click on a field in the list to insert it. Repeat the process to add additional merge fields. On the Preview tab, you’ll see a placeholder, something like [[fldfirstname]], for each merge field you added. The actual client or session information will be merged when the email is sent.
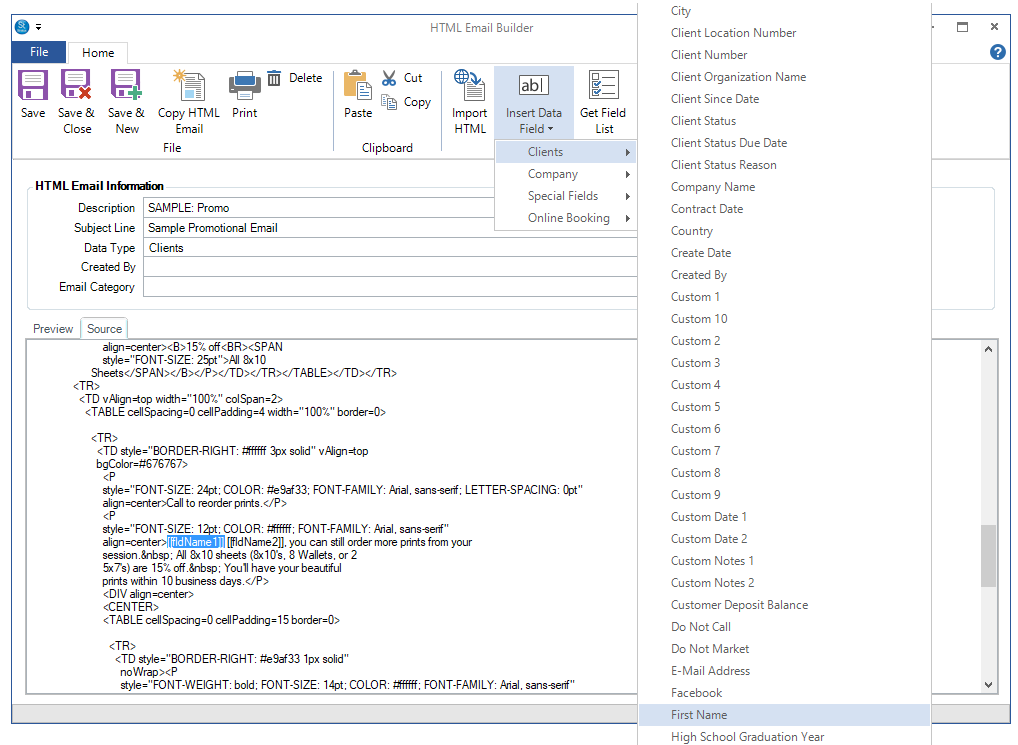
HTML Email Editor – Insert Field -
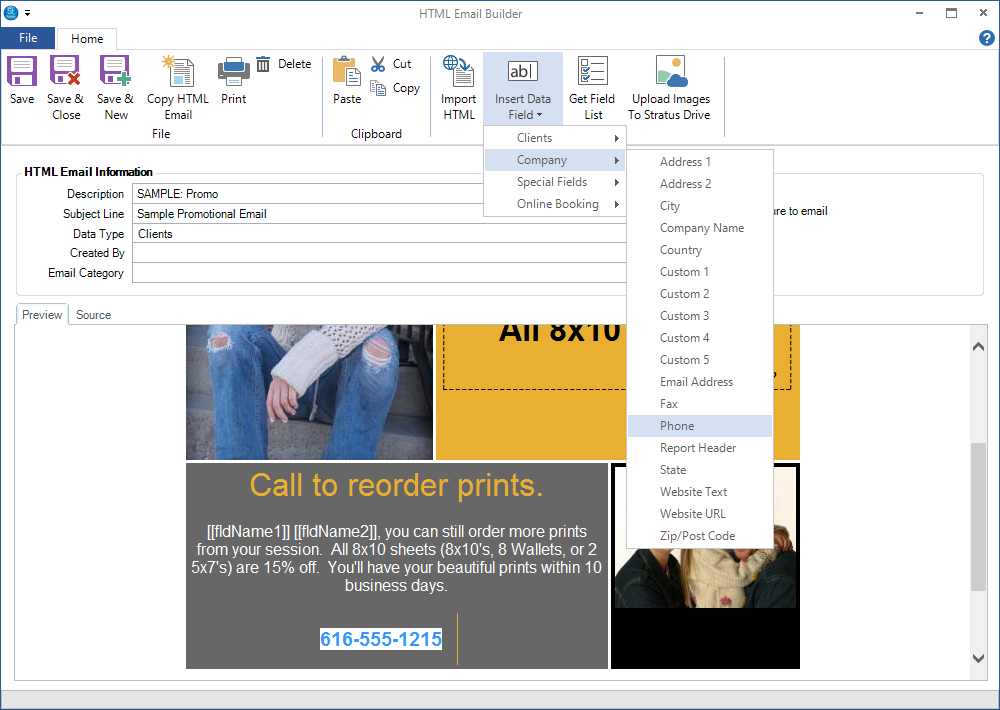
You can also add merge fields right on the Preview tab. To do this, you’ll need to highlight the text you want to replace with a merge field and then click Insert Data Field. Click on a field in the list to insert it. Repeat the process to add additional merge fields.
 HERE’S A FLASH FOR YOU!
To simplify adding merge fields, we recommend including comments in your emails and newsletters so you know exactly where the merge fields should go. For example, include comments such as (insert name here) and (insert company name here). You can then simply highlight this comment and replace it with the correct merge field.
-
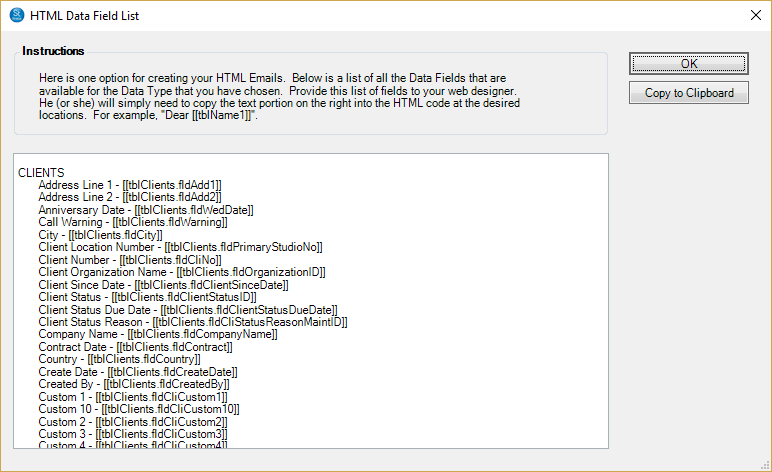
Finally, you can provide a list of all the available Stratus merge fields for your web designer to use when designing your HTML emails and newsletters. This way they can put the merge fields into the code before they give the email to you. It’ll be all ready to go! Click Get Field List on the ribbon and then click Copy to Clipboard. Paste this list into a document or email for your web designer.
-
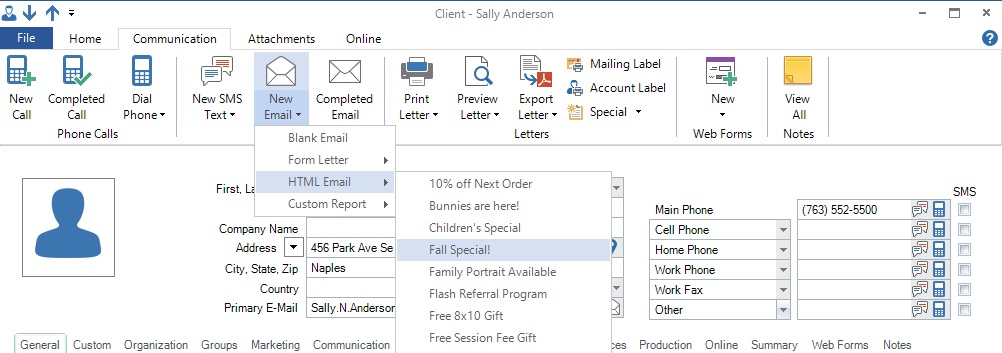
Once you’ve created your HTML email, send it out to a group of clients by using the Communication Wizard or to individual clients one-at-a-time. To send individual emails, go to the Communication tab on a client, session, or invoice and click New Email in the Messages group. Scroll down to HTML Email and select the email you want from the list. See also: Sending Email