
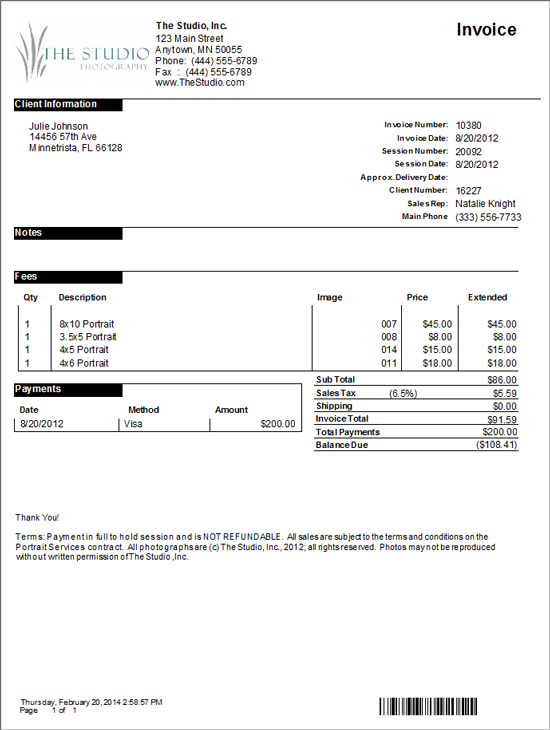
Printing an Invoice #
Follow these steps to print an invoice for your client:
-
Open the invoice.
-
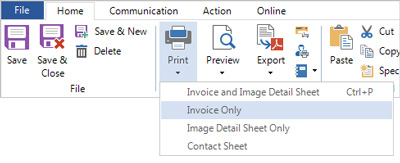
Click the Print drop-down arrow and choose Invoice Only.
-
You may also want to:
-
Use Preview to view before printing.
-
Use Export to produce a PDF version that can be saved.
-
Emailing an Invoice #
Follow these steps to email an invoice to your client:
-
Open the invoice.
-
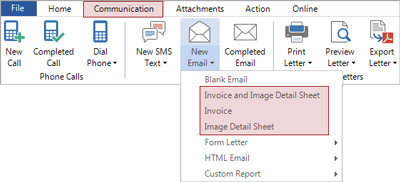
Click the Communication tab on the ribbon.
-
Click the New Email drop-down arrow and choose which item(s) you want to attach to the email.
-
A blank email addressed to the client will open and the PDF(s) will already be attached.
-
Type a message and click Send. See also: Sending Email
An invoice can automatically be emailed to the client from any wizard that includes creating an invoice, including the Scheduling Wizard, Session Wizard, and Invoice Wizard. Just check the Email Invoice option on the last page of the wizard!
Customizing the Invoice #
The following items can be customized on the invoice:
-
Terms – The message that appears at the bottom of the invoice can be modified or deleted. These terms are modified in Maintenance > Invoice > Invoice Terms. For detailed instructions, see the Invoice Terms topic.
-
Include Session and/or Invoice Notes – Choose to have the software always include any existing session and/or invoice notes. Follow these steps to set it up:
-
Go to Maintenance > Preferences > Company (Studio) Preferences and open the Reports tab.
-
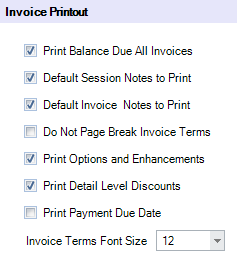
Scroll down to the Invoice Printout section.
-
Check the Session Notes and/or Invoice Notes option(s).
-
Click OK to save your preferences.
-
- Include Balance Due for All Invoices – If a your clients sometimes have more than one order in process at a time, you may want to have the software include a total balance due on the client’s invoice. Follow the instructions above and check the Print Balance Due All Invoices option (step 3). The software will total all the outstanding invoices for the client and include that total on their printed invoice.