
#
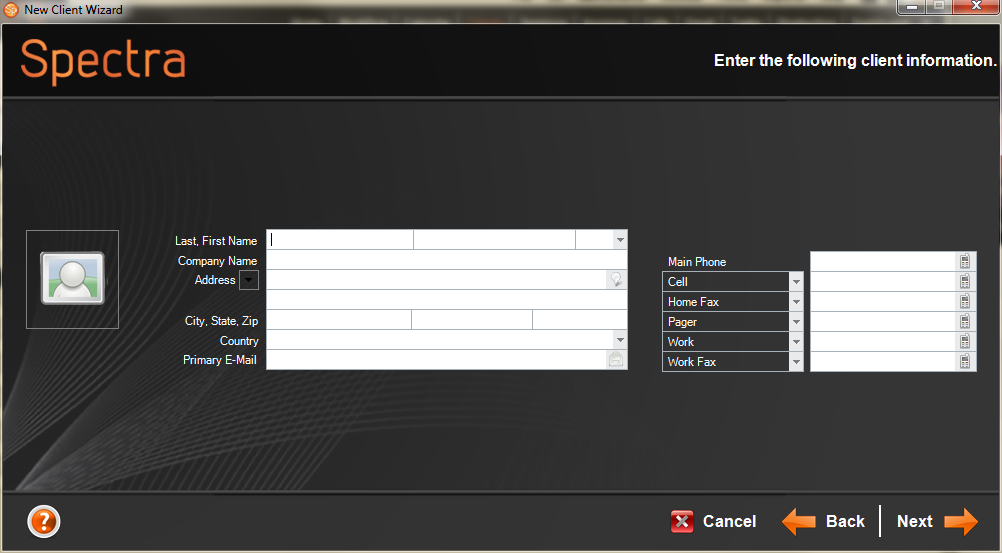
If all you need to do is enter a new client, click New Client (or Ctrl+N) from any hub. This launches the Client Wizard to take you step-by-step through entering a new client into your database. Begin the entry of information. After each page, click Next to advance through the Client Wizard. See Client Reference for more detailed information.
You can customize the wizard for your studio by using the Wizard Builder tool. You may want to eliminate or add pages to the wizard, change what the message says on each page, or adjust other options. Go to Tools > Design Tools > Wizard Builder.
When entering information in the wizards, you’ll find that the software automatically capitalizes the first letter and un-capitalizes the rest of the letters. For example, if you type “sara johnson,” the software will change it to “Sara Johnson” when you tab to the next field. If you do not want the capitalization changed, press the F3 key instead of the tab key when moving to the next field. For example, if you don’t want “John McDonald” changed to “John Mcdonald,” press the F3 key to move to the next field.
Advanced users may disable the Client Wizard and create new clients using a blank client record. Refer to Creating a Client. To disable the ClientWizard, go to Maintenance > Preferences > User Preferences.