 #
#
#
Getting Started with eWAY© in Australia, New Zealand, and the United Kingdom #
To get started using eWAY credit card processing with
your Spectra software, follow these simple steps.
-
Create an eWAY account. Click
here to receive a no-obligation quote from eWAY, which is the first step in establishing your account. Once your account is established, eWAY will email you your unique account credentials. -
Using your account credentials, log into the
eWAY gateway and process a payment for $1. Doing so will ensure the account credentials are valid and that your account is set up properly. You can then void the test transaction. -
Enter your account credentials in the Studio
Preferences > Credit Card page in Spectra. Read more about
this setup page in the Studio
Preferences – Credit Cards topic in “Spectra Maintenance”
chapter. -
Use Data Entry
Validation to make sure all credit card payments are successfully
authorized before saving. -
Create a test client and invoice, and then process
a test payment in Spectra. See the section below for additional details
on processing credit card payments in Spectra.
Processing Credit Cards in Spectra Using eWAY #
#
#
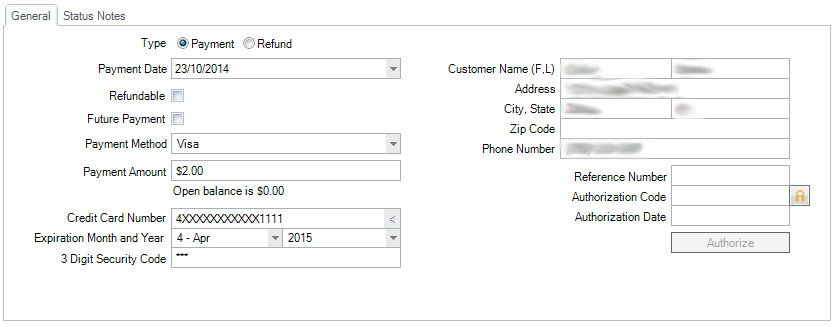
When creating a payment record in Spectra, select the Payment or Refund option from the tool ribbon. The New Payment window will appear.
- Review the entries filled in from the Invoice and move to the bottom of the form.
- Select either the Payment or Refund radio button and move down to the Payment Method selection line. (If the Refundable or Future Payment check box is appropriate for this payment, select it).
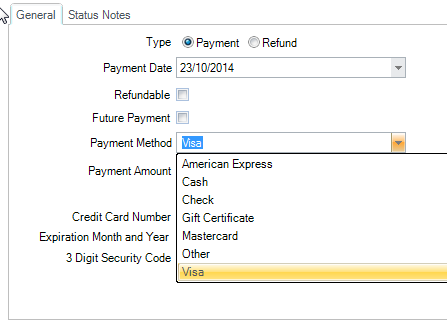
- Choose a Payment Method from the credit card list menu in the entry box.
- Key in the Payment Amount
- Key in the Credit Card Number, the Expiration Month and Year, and the 3 Digit Security Code number. The Credit Card Number will be obscured with “X” marks and the Security Code will be hidden in security marks.
- The Customer Name, Address, City, State, Zip, and Phone Number, on the right, have been filled in automatically from the Client file. (The specific Customer information shown here has been blurred out for this example only.)
- Select the Authorize key on the right side of the form.
-
If you have entered an over-payment on an invoice, an alert will appear and give you the opportunity to go back and adjust the amount to either below or at the invoice balance amount. Select “No” to go back. If you select the Enter on the “Yes” default button, in error, you must create a refund to balance the over-payment.
 #
#
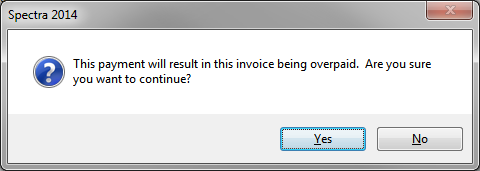
While there are many ways to process invoices, it is recommended that you do not, intentionally, enter an amount that is over the balance. For that reason, the alert box will appear if the amount entered for payment exceeds the balance on the invoice. You do have the option to select the Yes or the No button. The Yes button is the default choice. If you select the Yes button in error, you should deduct the overpaid amount by creating a refund. See Creating a Refund or Processing Refunds below.
Processing the eWAY Credit Card Form #
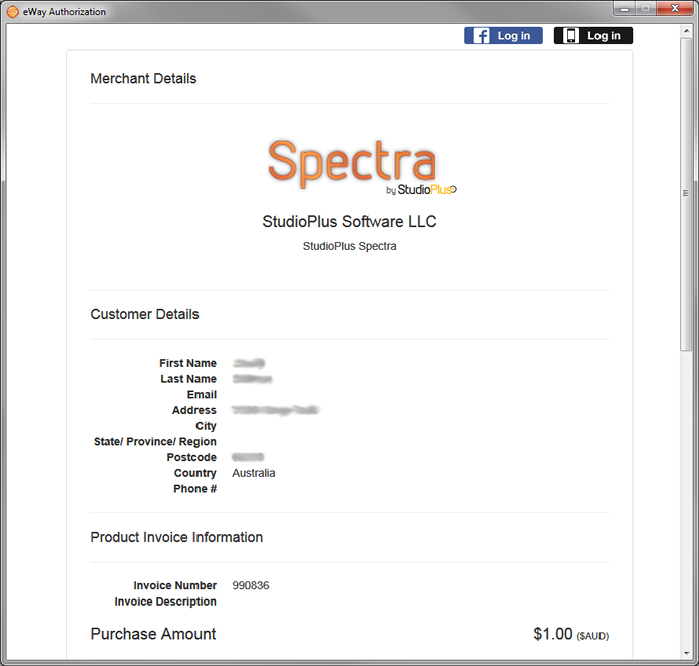
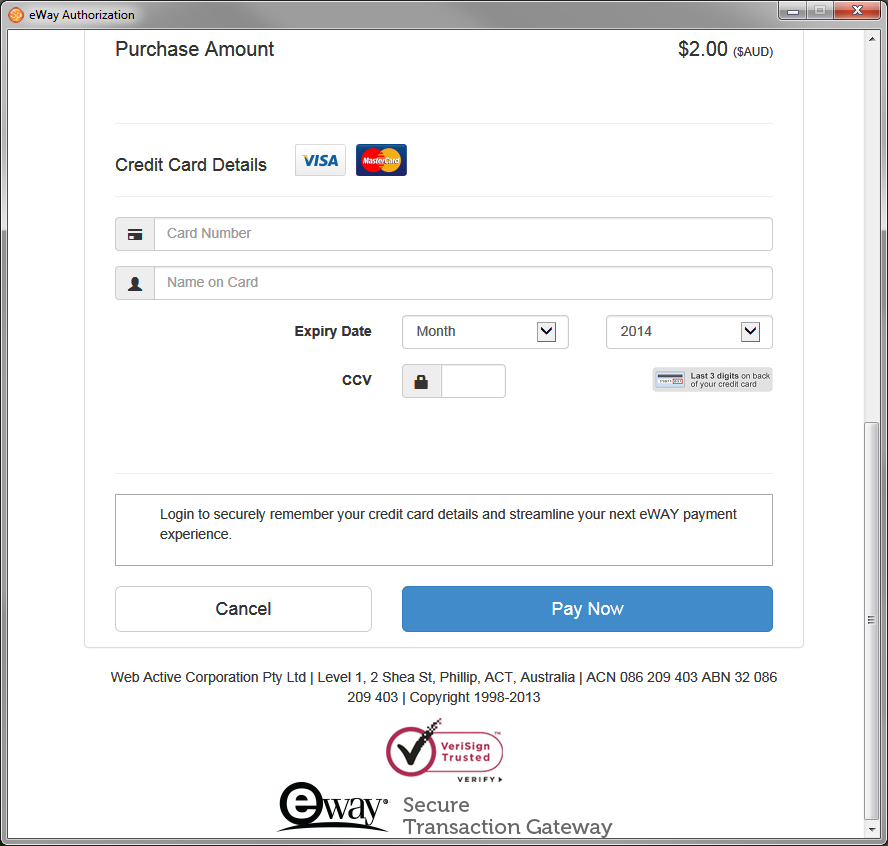
The Purchase Amount form has three parts and you will supply the Credit Card information in the lower half only. The top half is useful for your review purposes. Each part is covered here.
Top right buttons
#
- You need not select either of the two courtesy buttons at the top-right that link directly to the eWAY© web site. These are provided for your convenience in case you should need to change your information with eWAY.
Merchant Details #
- Spectra provides their identification logo on the form for processing purposes.
#
Customer Details #
- The customer’s details are automatically inserted for your review here, from the invoice form.
#
Product Invoice Information and Purchase Amount #
- The invoice number and any description available is automatically inserted for your review here from the invoice form.
#
Credit Card Detials #
- Key in the appropriate information as directed in the entry window bars.
Note: There is a reminder box just before the Cancel or Pay Now buttons that refers to the links at the top of the window. If you wish to change any of your account preferences, this should be done in Spectra using Maintenance > Studio Preferences > Credit Cards. #
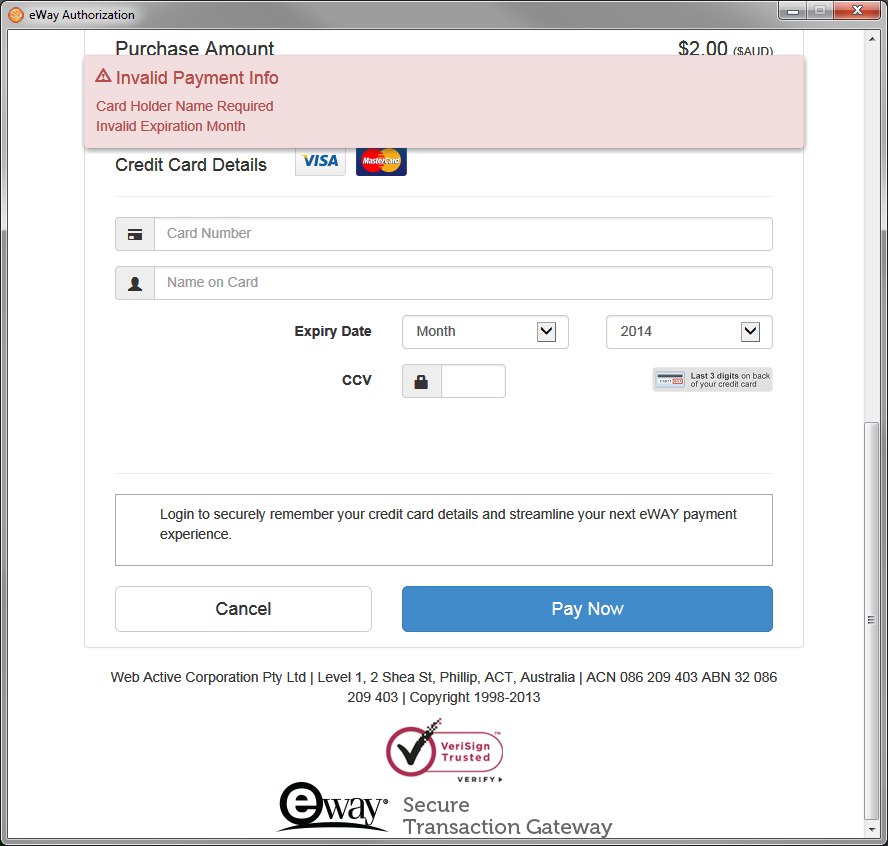
Note: If any needed payment information has been excluded, you will see a Warning box requesting the correct information.
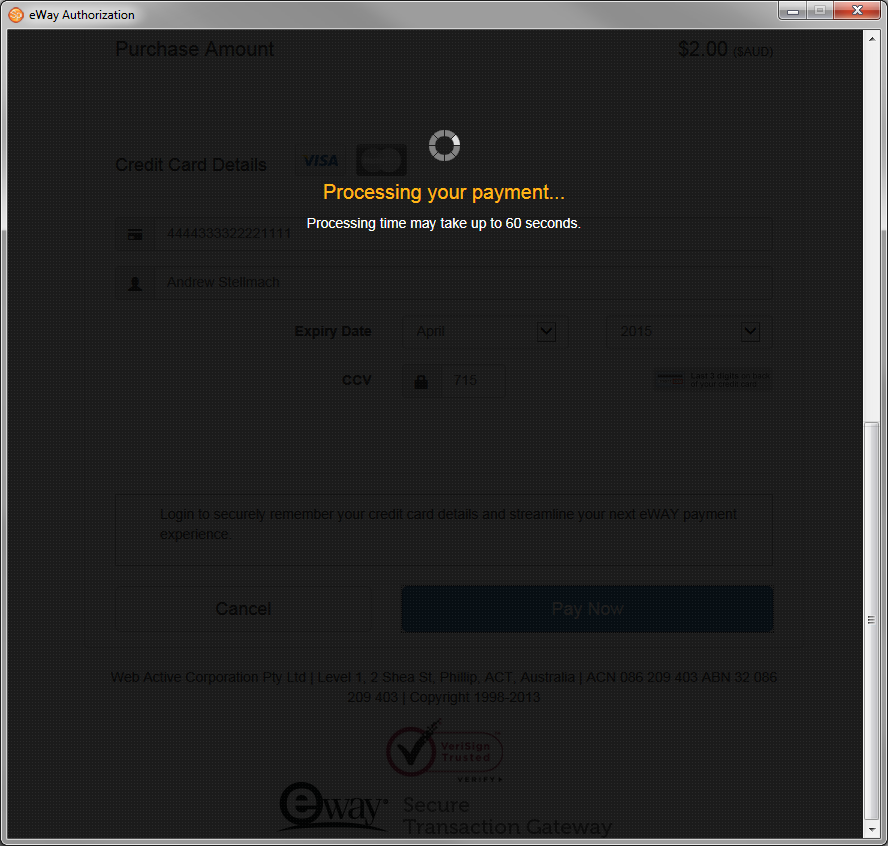
- A processing window will appear to show the progress of the Authorization.
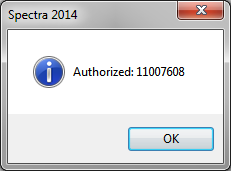
- Once the card has been authorized, you will see a message box telling you if the transaction was approved or declined. If the transaction is approved, the new payment record will be saved automatically to prevent the user from exiting out and not saving the record. The Reference Number shown as “Authorized” in this window will be recorded on the Payment form.
Note: Client information has been blocked out in this reproduction of a record.
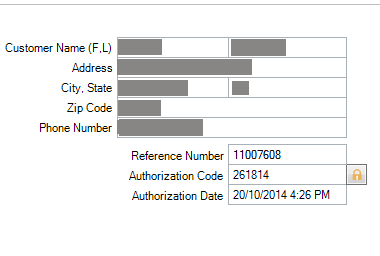
Note: Once a credit card is approved,
the payment amount will be locked by default. Only users with the appropriate
security clearance will be able to unlock the payment amount, authorization
code, and authorization date by clicking the padlock.
Processing Refunds #
When processing a refund, eWAY and Spectra will force the user to select the payment record that should be refunded. You can refund any amount up to the amount of the original payment.
If you have multiple payments that you want refunded, then you will need to create a separate refund for each payment.
Settling your Credit Card Batches with eWAY #
Your account with eWAY should be set to automatically settle at the end of each day. If not, you may contact eWAY and request automatic settlement. You can also request the time of day that the automatic settlement occurs.
Even though the settlement occurs automatically, it is highly recommended
that you verify each of your batches in Spectra to ensure that the payments
in Spectra are in balance with eWAY. Here is the recommended procedure:
-
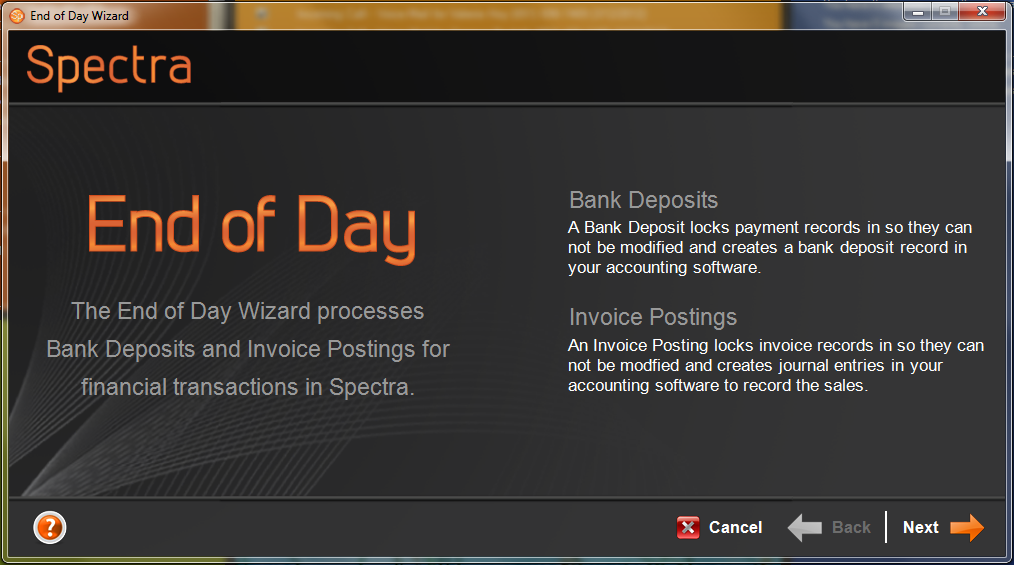
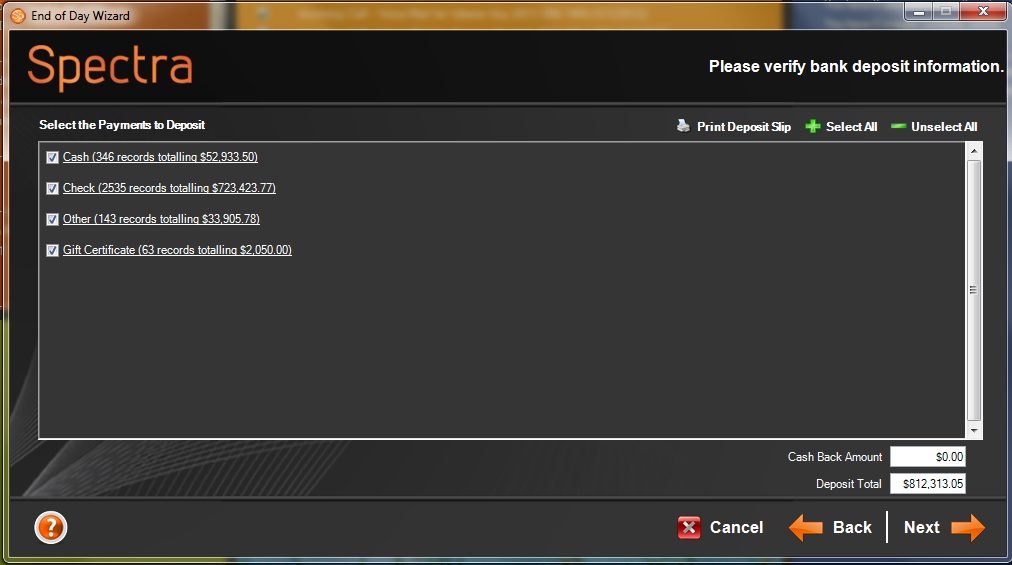
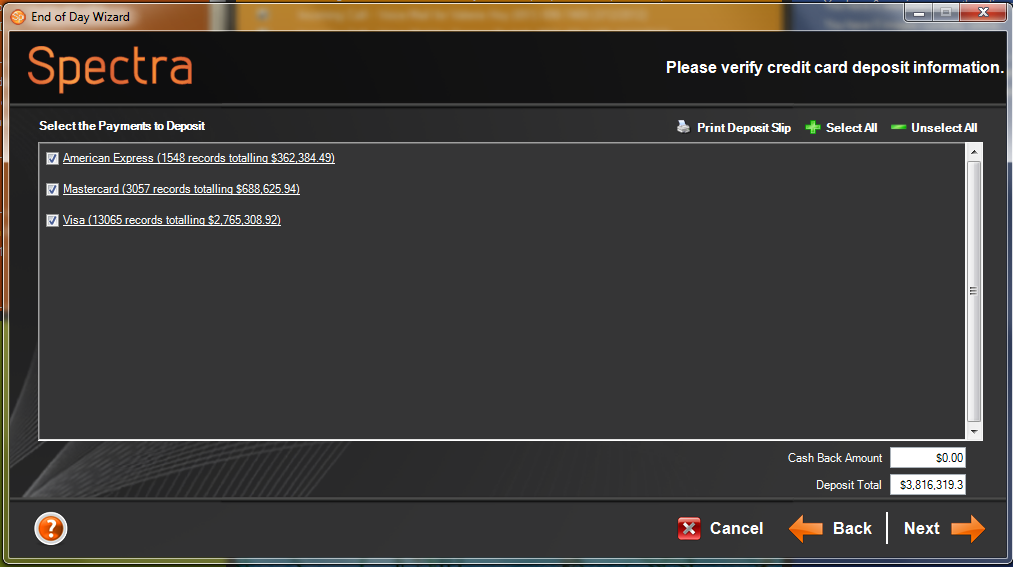
Customize your End
of Day Wizard so that similar payment methods are grouped and
posted together. For example: ▪ If your MasterCard and Visa transactions
are deposited into your bank account as a single deposit, then group
them to appear on the same page. ▪ If American Express is deposited
into your bank as its own deposit, then set American Express to appear
on its own page. Click
here for more information on customizing your
End of Day Wizard. -
Either at the end of your business day or at the
beginning of your next day, perform an End
of Day Posting. Click Tools
> Accounting Link > End of Day Wizard.- If you are posting
before you receive your settlement email you will need to open the eWAY Gateway to get your totals for the day. - If you are posting
after receiving your settlement email you can use that. - Either way,
compare the totals showing in the Spectra End
of Day Wizard with the batch totals provided by eWAY. Ensure that all totals match. If not, you have an opportunity to correct your mistakes before completing the posting wizard.
- If you are posting