
   |
NOTE: This feature is available in the Essential, Professional, and Enterprise versions of both Spectra and Stratus Desktop. |
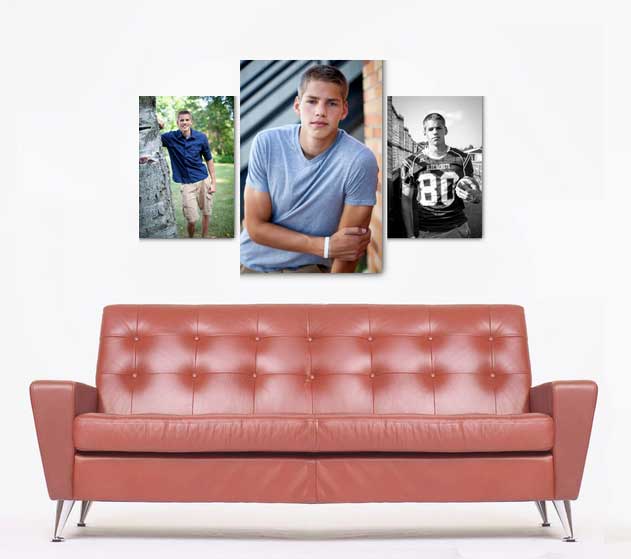
Wall Art Layouts are templates that can be used to display image groupings on a picture of an actual wall.
Key Points #
- Wall layouts can only include drop zone layers (no image or text layers).
Designing a Wall Art Layout #
-
Go to Tools > Design Tools > Digital Template Builder.
-
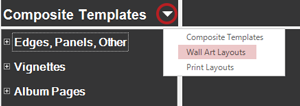
Open the Wall Art Layouts set from the drop-down list.
-
If desired, create groups to organize your layouts. To create a new layout group, click New Group on the ribbon.
- Enter the Group Name.
- Active/Inactive – Check the box to make the layout group inactive. An inactive group will not be available for use.
- Choose Starting On and/or Hide After dates. For example, use these dates to keep a group of layouts hidden until a certain date. Note: The group must remain Active in order for these dates to remain in effect.
-
Click New Template to create a new wall art layout.
-
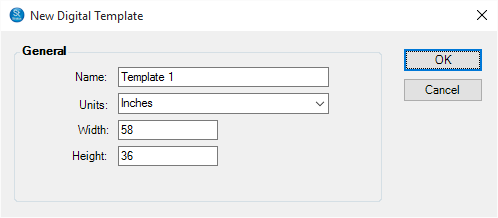
Give the layout a name and enter the overall dimensions. Click OK when done.
-
The new layout template will start out with just a background layer.
-
Click New Drop Zone on the ribbon to add your first drop zone layer.
-
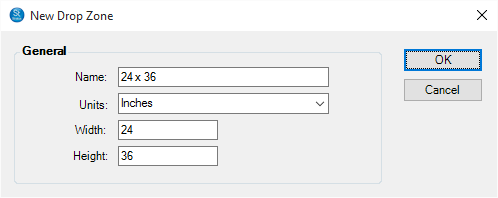
Give the zone a name (optional) and enter the width and height of the zone. Tip: For best results, use your standard print sizes (i.e., 11×14, 20×24, 20×20, etc.)!
-
Use your mouse to position the drop zone approximately where you want it. Use the Location fields in the Properties list (lower-right panel) to place it precisely where you want it.
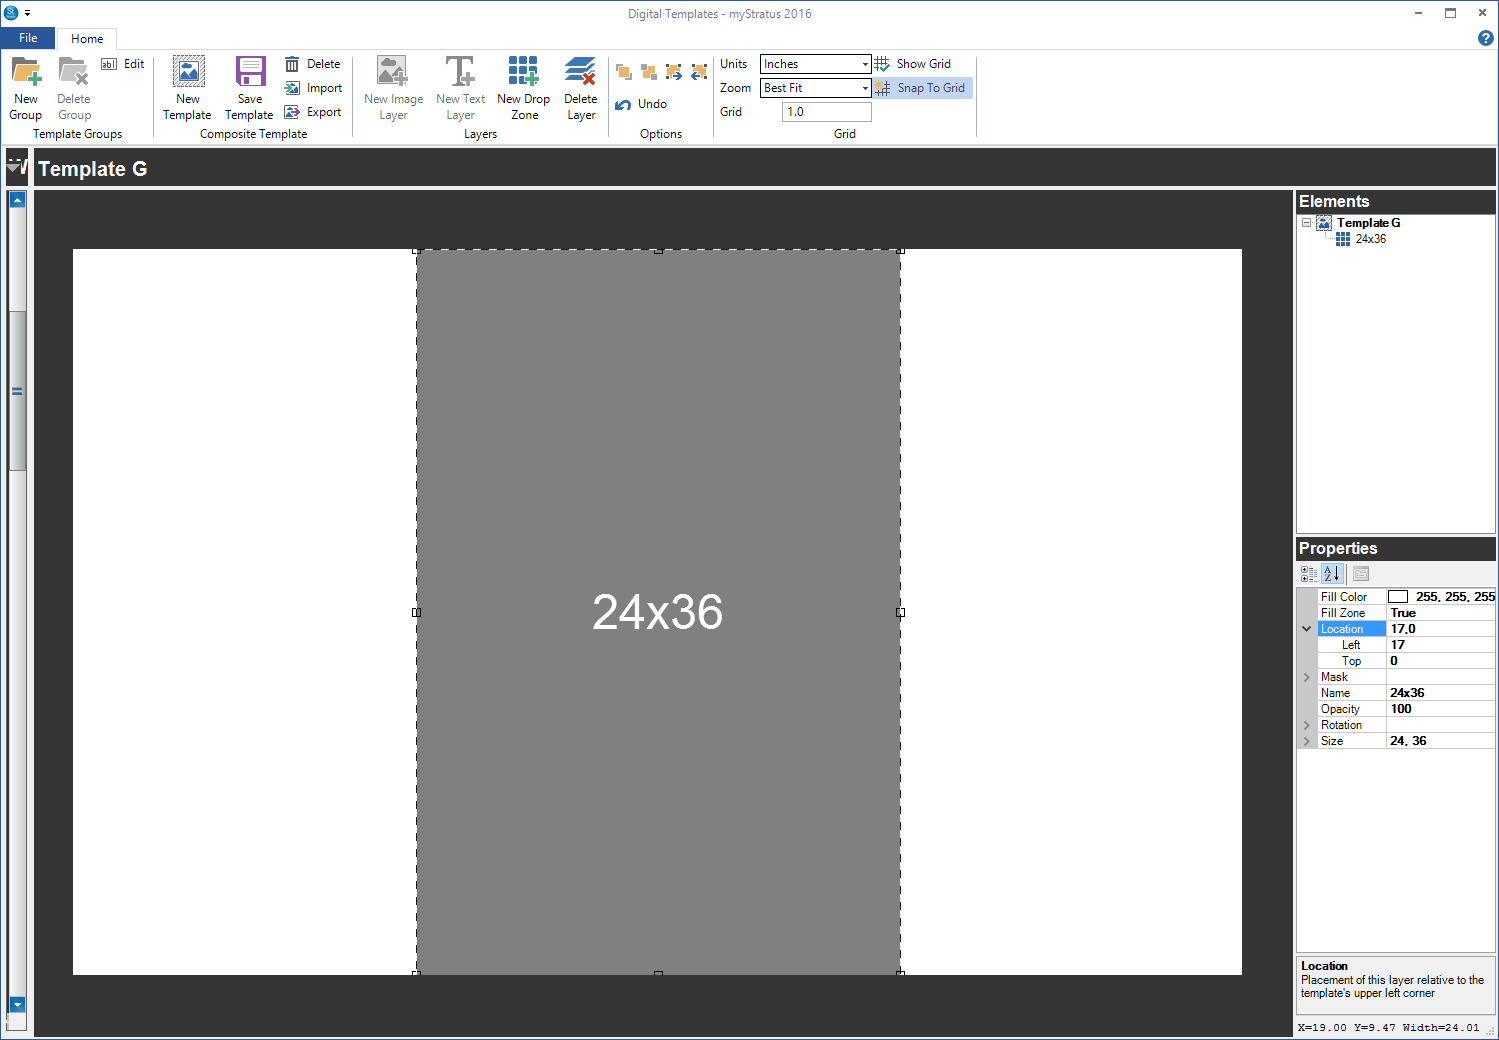
-
Add additional drop zones to create your wall grouping. Highlight each drop zone layer in the Elements list (upper-right panel) and adjust the size and location. Note: By default, new layers are centered in the layout (they may appear on top of a previous layer).
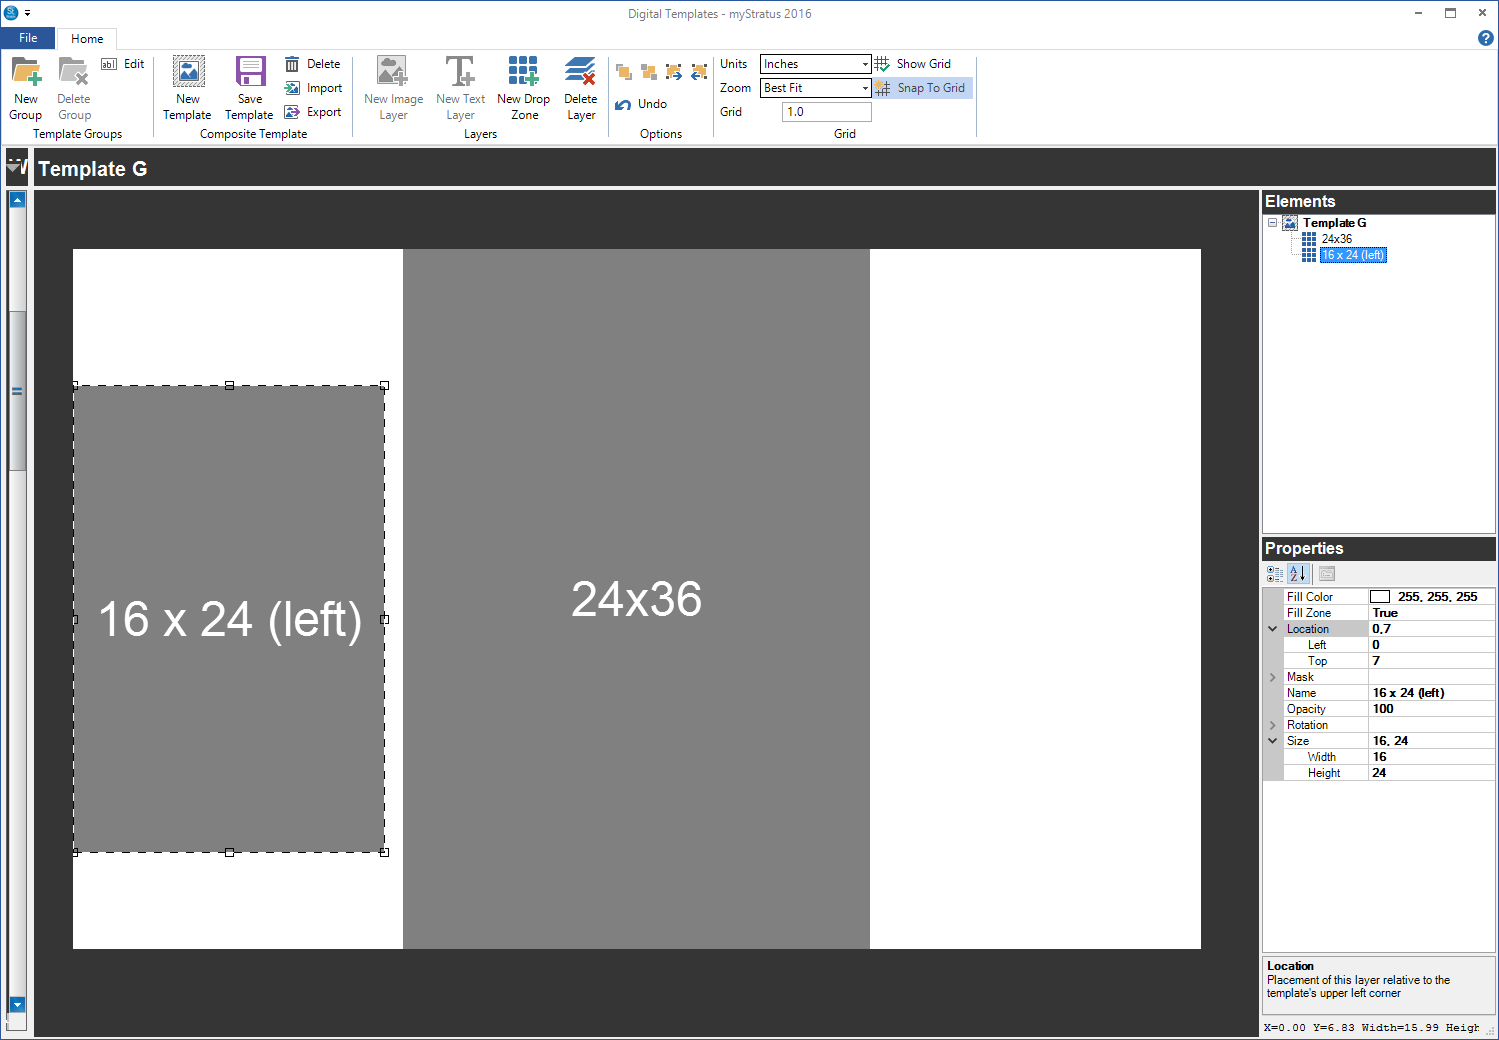
-
Click Save Template to save your wall art layout.
-
Close the Digital Template Designer when finished.
Example Wall Art Layout #
Here’s the finished layout template. The center zone is 24 x 36 and the two side zones are 16 x 24.
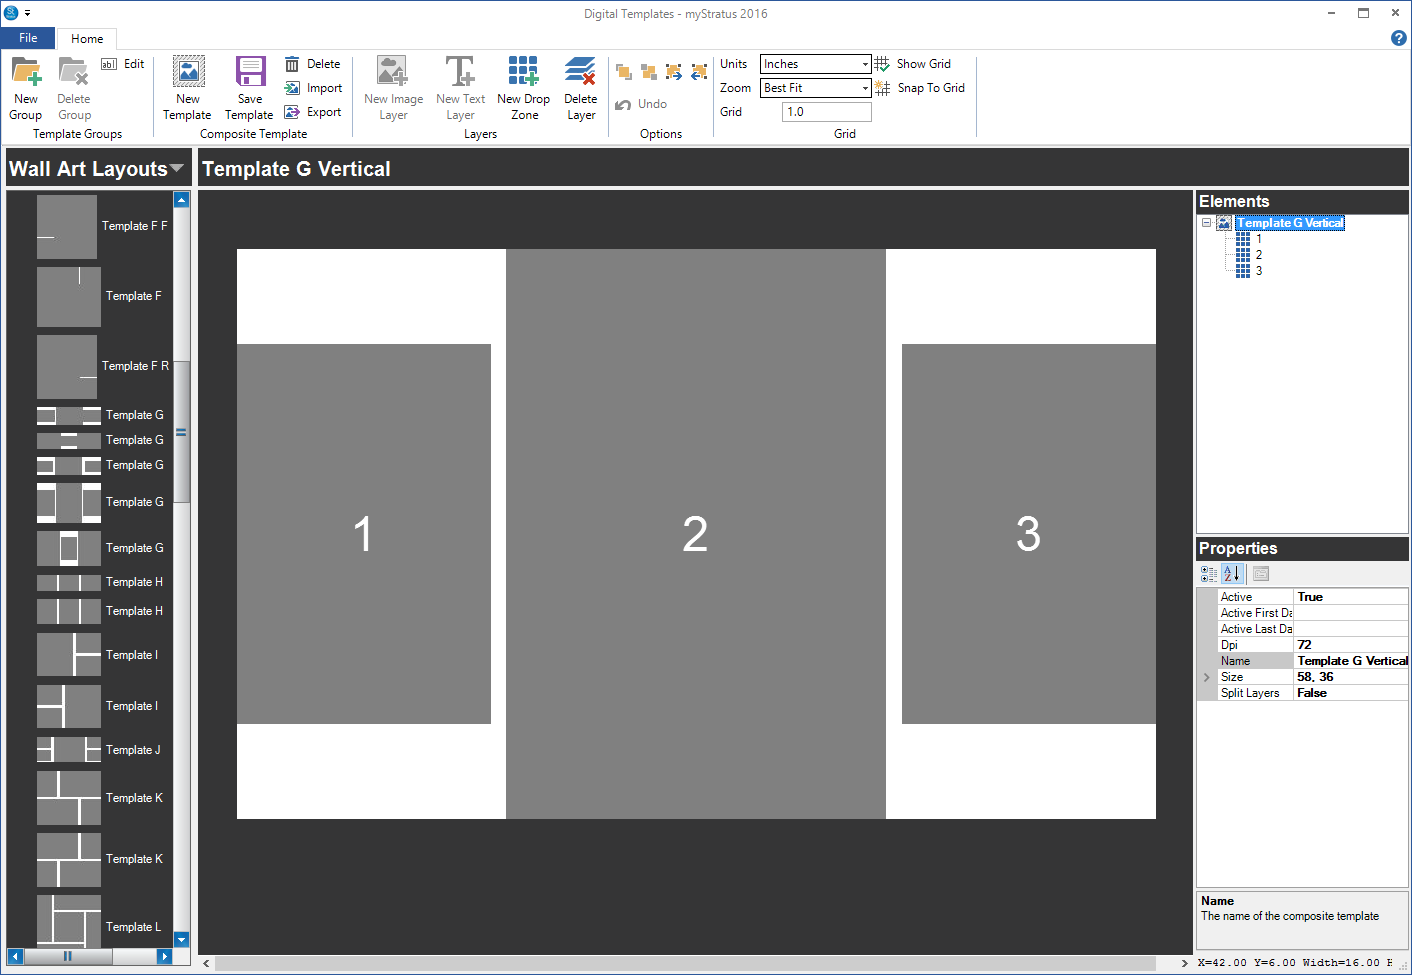
Here’s what it looks like in the workflow, complete with the customer’s wall and images!
Using Wall Art #
Once you’ve designed your layouts, you’re ready to use them! To learn how to create custom wall art for your clients, read Using Wall Art.


