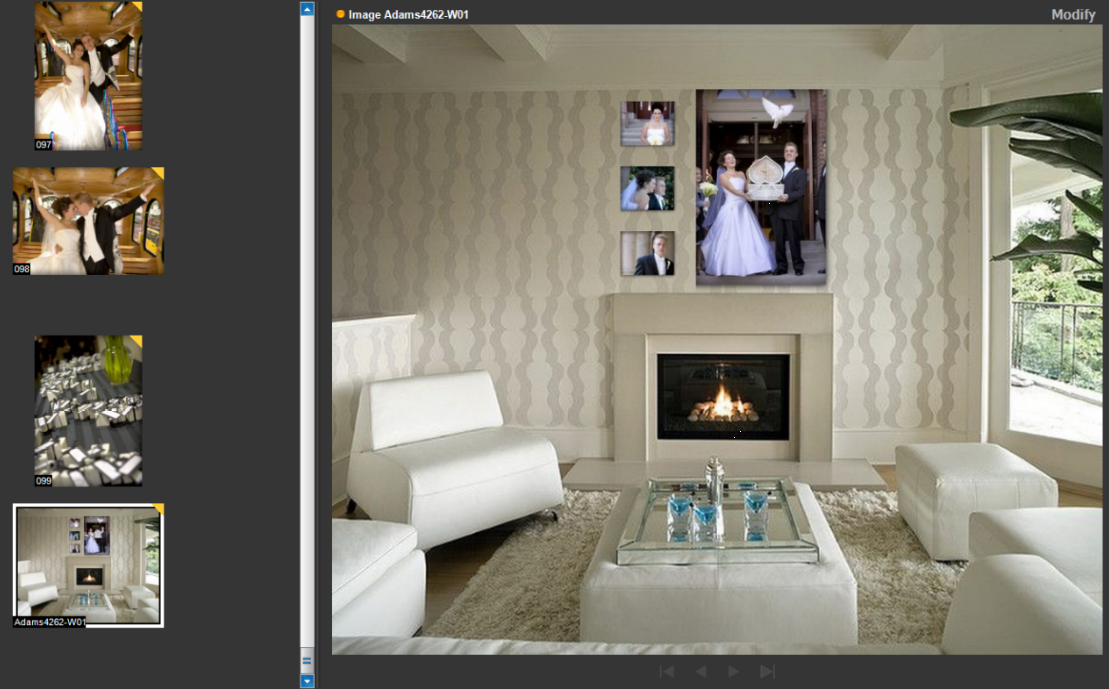
Please note that the Wall Art feature is still in beta testing and has not yet been officially released to general clients.
Nothing can mean more to a client than the ability to see how their own images would appear on their wall at home. Wall Art gives you the opportunity to add that level of commitment in your own business to create a deeper connection with your clients. This document discusses a few of the basics on how to use Wall Art as well as providing a few tips to help optimize the experience.
The topics covered in this document are:
Creating a Layout #
- Go to Tools > Design Tools > Digital Template Builder.
- Change from Composite Templates to Wall Art Layouts.
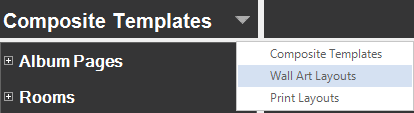
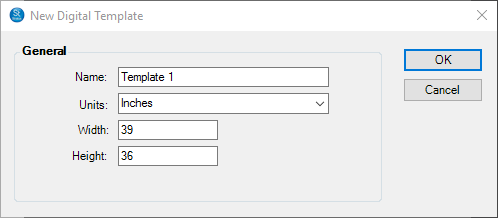
- Select New Template to create a new layout.
- Enter the Name, Units, Width & Height for the total layout size.
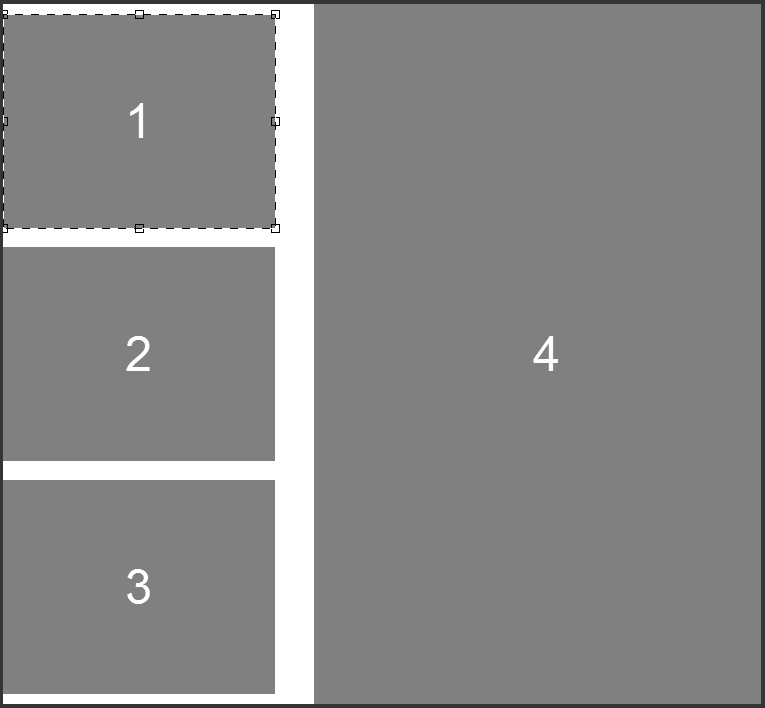
- Select New Drop Zone to add a new drop zone. This will serve as a place to drag and drop the client images into.
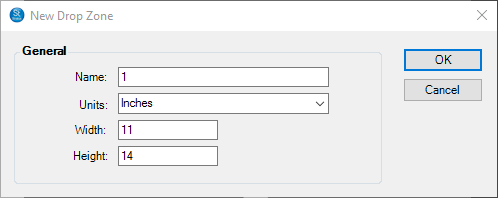
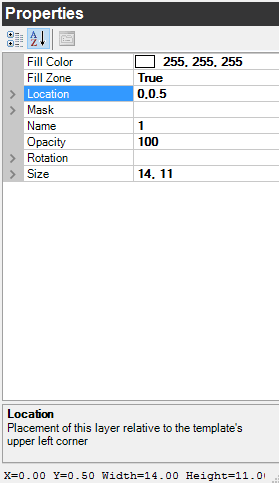
- Either drag the drop zones to the desired placement on the layout, or set the exact location from the drop zone Properties.
- Select Save Template to save your changes to the tamplate.
Adding a Wall #
- Select New Wall Art from the ribbon in the Workflow hub.
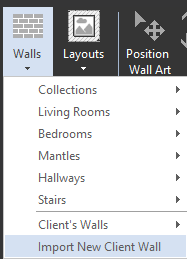
- Select Walls > Import New Client Wall
- Follow the setup instructions to add the wall:
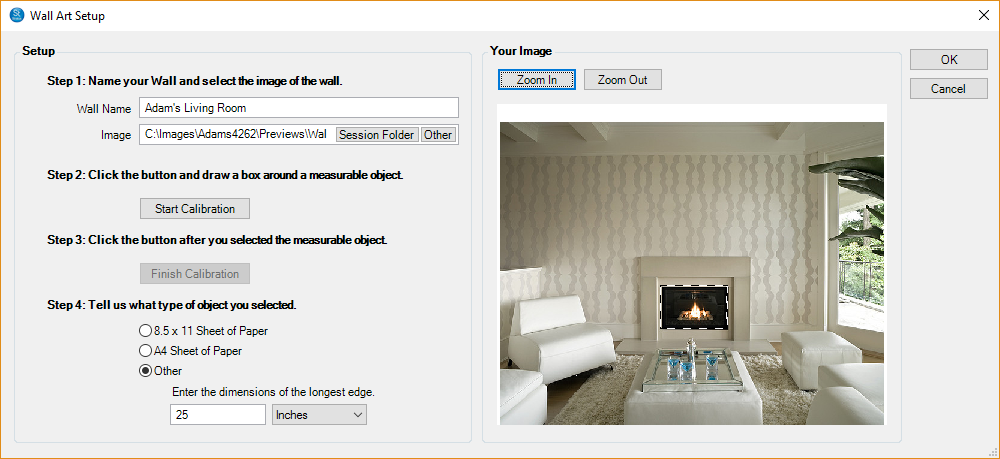
- Step 1: Give the wall a name that you will use within Spectra/Stratus. Then browse out to where you have the image stored on your computer. Select Session Folder if the image is currently stored in that client’s Preview folder for that session. Select Other if the image is stored in another location on that computer.
- Step 2: After the image has been chosen, select Start Calibration to draw a box on the image around an object that is measurable. For instance, the above image has a box around the fireplace which can be measured lengthwise. This step allows the software to understand the measurements of the image in order to give proper proportions to your client’s images.
- Step 3: Select Finish Calibration after you have finished drawing the box.
- Step 4: Enter the measurement of the longest side of the box that was drawn on the client’s wall.
The Wall Art Ribbon #
From the ribbon in the Workflow hub, select New Wall Art. The Wall Art ribbon will then appear:

- New Wall Art: Creates a new wall art design for the selected session.
- Save & Close: Saves the wall art design as well as closes the wall art designer.
- Save: Saves the wall art design.
- Save as Copy: Saves wall art design as a copy. To be used when you make changes if you have previously saved a wall art design.
- Email: Creates a new email for emailing a copy of the wall art design.
- Walls: Allows you to select the wall to edit from your library as well as import a new client wall.
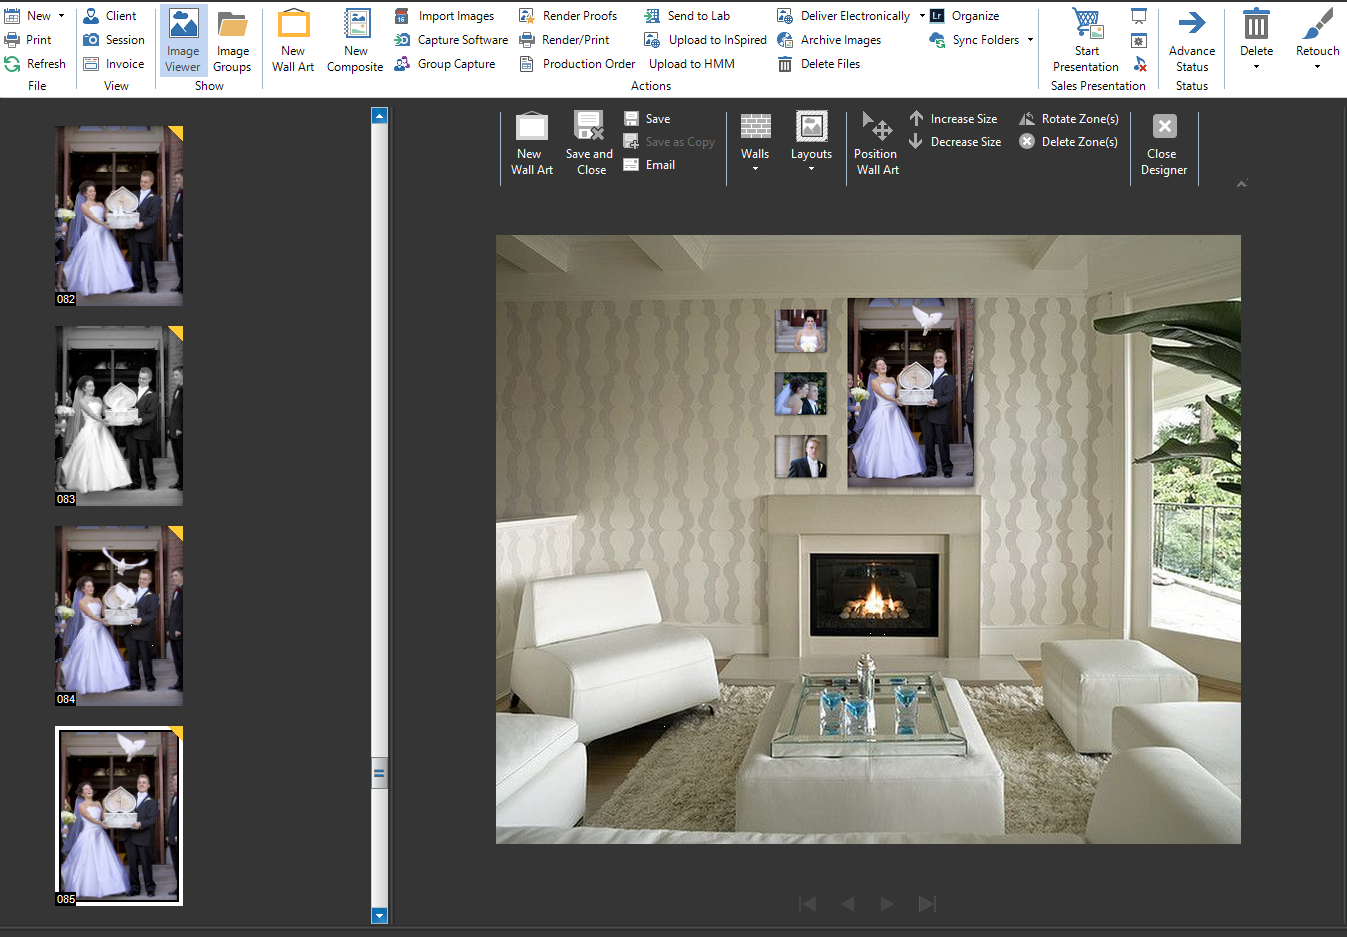
- Layouts: Allows you to insert a previously created layout of image sizes that can be edited.
- Position Wall Art: Allows you to move the selected zones.
- Increase/Decrease Size: Increases and decreases the size of all selected zones by one image size.
- Rotate Zones: Rotates selected zones counterclockwise.
- Delete Zones: Deletes selected zones.
- Close Designer: Closes wall art ribbon and returns to regular Workflow hub.
Using Wall Art #
Once you have your walls and layouts done, then you can start creating wall art for your clients.
- With the session and its images open in the Workflow hub, select New Wall Art to bring up the Wall Art ribbon.
- Start by either selecting the wall that you would like to work on or you can import a new one. Both can be done by selecting Walls from the Wall Art ribbon.
- Images can be added to the wall in one of two ways:
- Click and drag the Images onto the wall and arrange them manually.
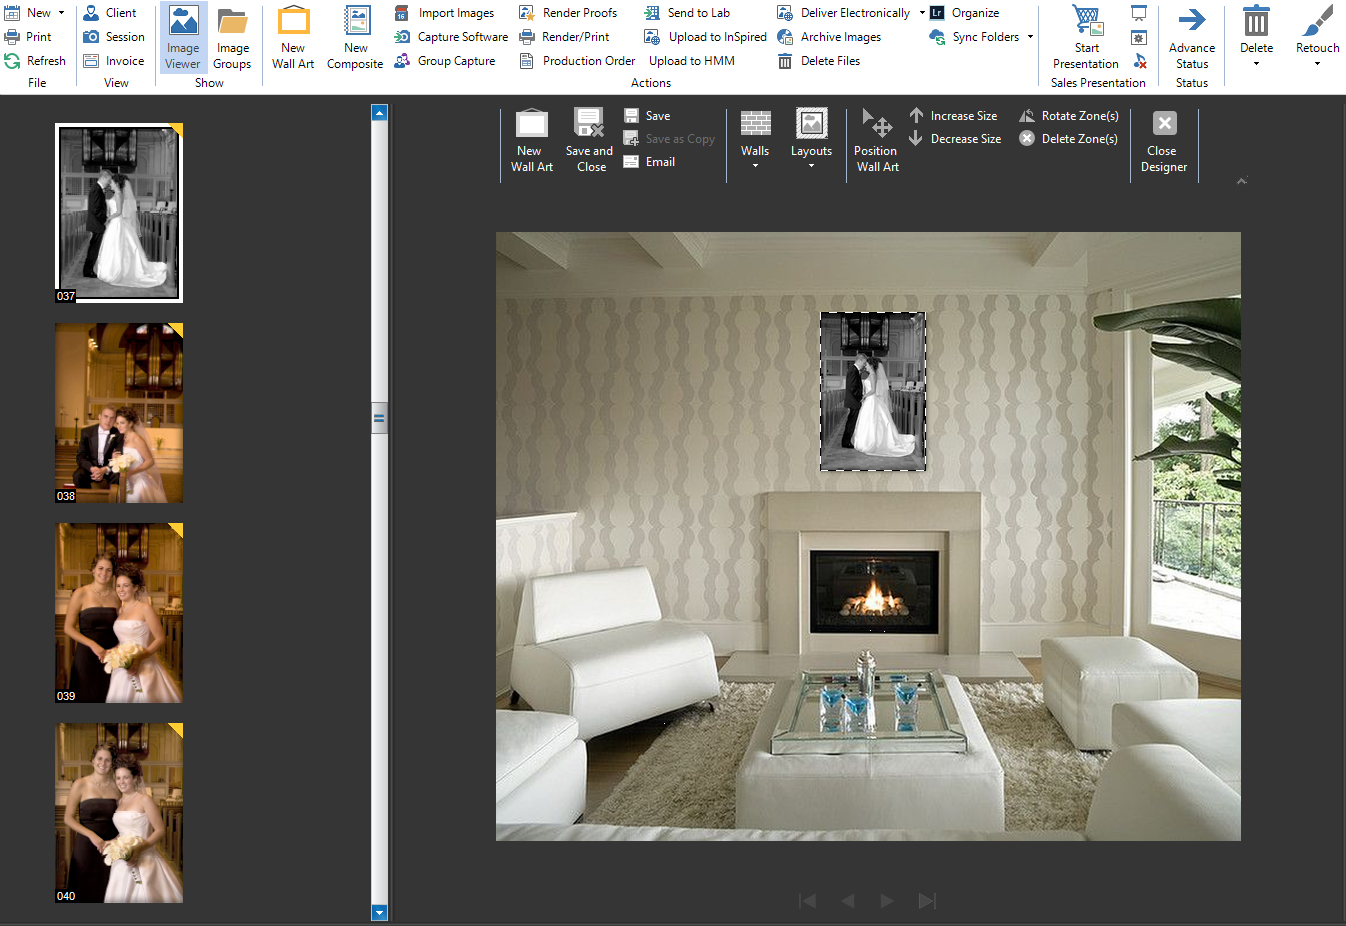
- Add a Layout to the wall and drag the images into the Drop Zones.
Tips #
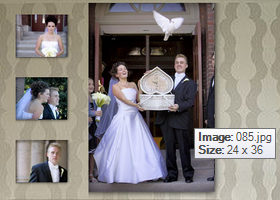
- If you want to check on the image number or what size an image is that is on a client’s wall, simply hover over the image to see its details.
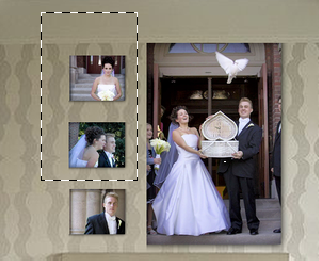
- To select a group of drop zones, click and drag to create a box around the zones that you want to select. These zones can then be resized and moved together.
- When you save a template, it is then saved as a low-res image and added with the prefix –W01 to the session’s Preview folder. If you wish to modify this wall art at a later time, you can do so by selecting the image from the list and selecting Modify in the upper right-hand corner of the image