
#
The Preferences Wizard guides you through entering the most important settings in Spectra so you can
get up and running quickly. However, don’t forget to go back later and
set all your company and user preferences. There are many settings available on the Spectra Maintenance
menu, helping you customize Spectra for your studio. For
more information, see Maintenance Menu Overview.
IF SKIN Indigo_SpectraWatch the video and/or follow the instruction below to set up Spectra with the Preferences Wizard.
The Preferences Wizard
should start automatically the first time you open Spectra, but you can
use the wizard at any time to re-set these preferences.
End
-
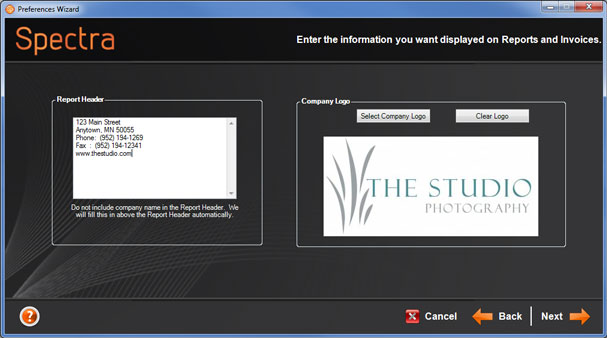
After the introduction screen, click Next and modify your company information. This is the information that will print at the top of your reports, invoices, and receipts. NOTE: Don’t enter your company name! Spectra will automatically add that at the top of the report header. Just enter the rest of your contact information. Select a company logo image file. We recommend a 300 dpi, 1×2 or 1×1 inch image.
-
Next, add and modify your users. Type their names and initials and click Next.
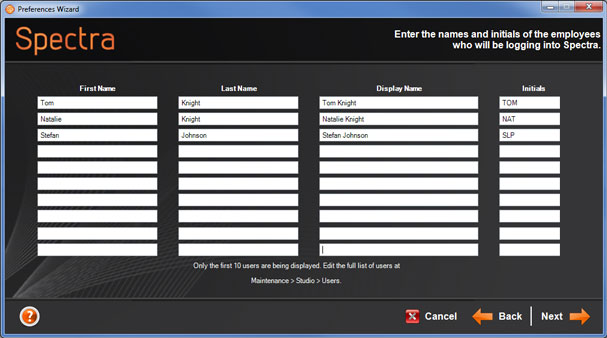

● What is a user? A user is anyone who uses your studio (or any other work area), such as a photographer or salesperson. A user is also any employee for whom you may need to schedule sessions or appointments.
● How many users can I have? The number of users you create is not restricted by your software license. For example, you can create five users even if you have a two-user Spectra license. Your license will limit the number of users that can be logged into Spectra at the same time.
-
Next you will set up resources. Resources can be areas within your studio or other resources and equipment that you want to maintain a schedule for. Think about your various camera rooms, framing area, consultation rooms, special cameras, or even a van or trailer. In order to schedule these areas and equipment you’ll need to define them. Enter your resources and click Next. See also: Adding Resources to the Calendar
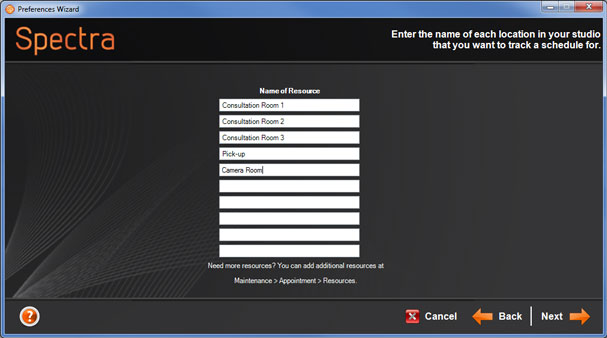

Have you noticed the Enter More button in the PreferencesWizard? Click Enter More if you would like to create more entries. This will bring you to a more detailed page where you can create additional entries and add details. These “maintenance” pages are also available in the Spectra Maintenance menu.
-
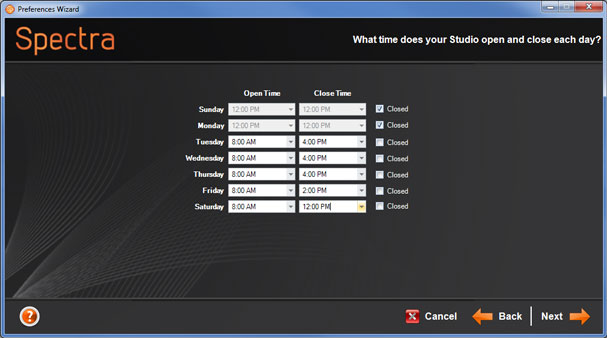
Use the drop-down lists to select your studio’s open and close times for each day of the week. NOTE: This will simply determine the shading that appears on your calendar – you will still be able to schedule appointments “after hours.” For days that your studio is closed all day, set the open time the same as the close time. Click Next. See also: Open and Close Hours
-
Next, type in names for your client groups. A client can belong to more than one group. Think of all the different ways you may want to categorize your clients: A client may be a ● “Portrait” customer ● “Wedding” customer ● and a member of your “Newsletter” group. A high school student could fall into the ● “Jefferson High” group ● “Class of 2012” group and so on. Click Next. See also: Client Groups
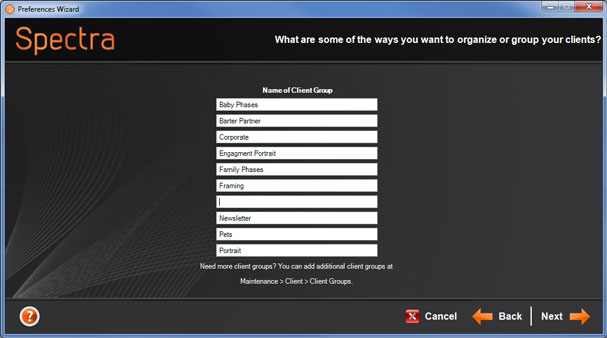

Client groups help you to: ● manage information ● analyze profitability ● and market your services.
Be creative! Think about your customers in various ways.
Examples of possible group labels:
—”Prospect” for people who might only require a phone call or a few mailings to become loyal customers.
—How about “Animal Lover” for people who might be receptive to the idea of having a portrait taken with their beloved pet?
—Or, use a group titled “No Contact” for clients who don’t want to receive marketing materials or phone calls.
-
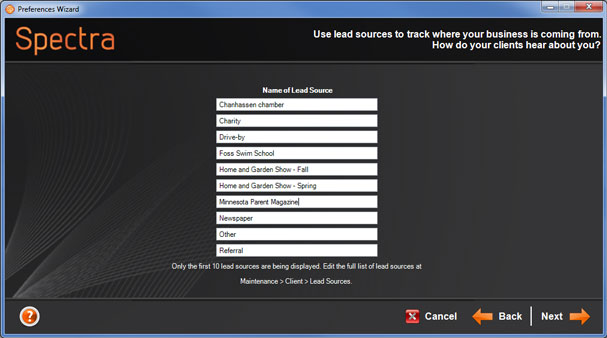
Type the names of any lead sources you have. Lead sources are the various ways people find out about your studio such as: ● advertisements ● yellow pages ● customer referrals ● or social media. Click Next. See also: Lead Sources
-
Enter the types of sessions your studio offers, such as: ● “Portrait” ● “Senior Deluxe.” Set the default amount of time (in minutes) that each type of session takes. Select a calendar color for each session type. Click Next. See also: Session Types
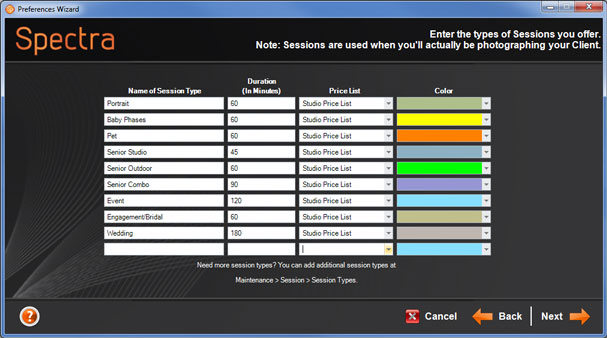
WHY DO I NEED DIFFERENT SESSION TYPES?
Different sessions types: ● appear as different colors on the calendar ● have a default duration/length ● can display different prices.
-
Now enter: ● the different types of appointments you have ● the duration (in minutes) ● and the color they should appear on the calendar. Click Next. See also: Appointment Types
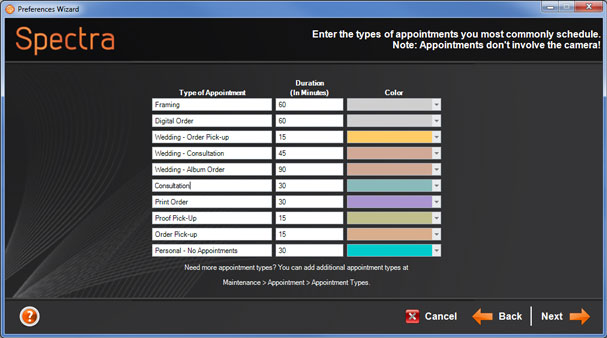
● Session — Anytime you will be actually TAKING photos of a client.
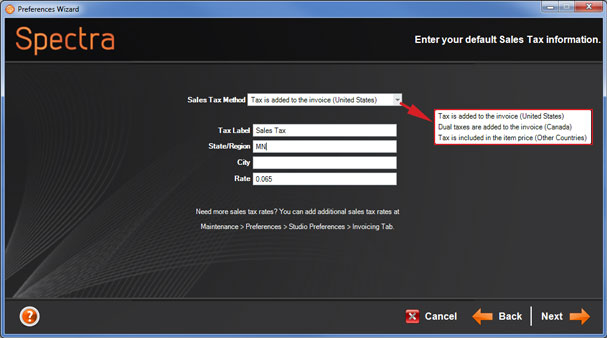
- Enter your default sales tax information by selecting the state from the drop-down list and typing in the rate. ● Enter your state sales tax rate as a percentage (e.g., 7½% should be entered as 7.5) ● If your default sales tax is a state sales tax, leave the city blank ● If the default is a city sales tax, enter the name of the city ● To add more sales taxes and more locations go to Maintenance > Preferences > Studio Preferences > Invoicing and click Sales Tax Maintenance. Click Next. See also: Studio Preferences – Invoicing
-
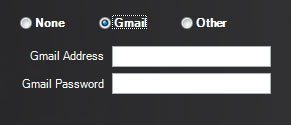
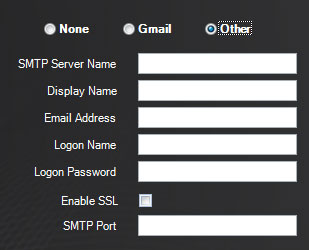
Now choose your company’s default email settings. ● Enter your Gmail account information ● or the appropriate SMTP settings. Click Next.
-
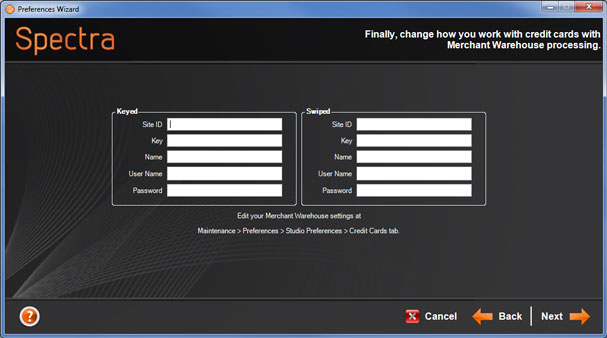
If you have a Merchant Warehouse or eWAY account that you will be using to process credit cards through Spectra, enter the credentials on this page. Click Next.
-
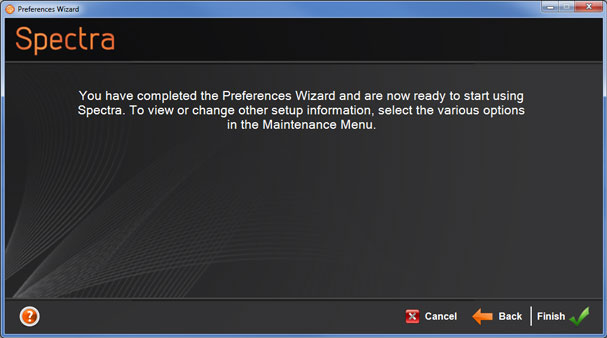
Click Finish to save your settings and exit the wizard.


Powered by BetterDocs