The Workflow hub includes some powerful tools for adjusting your images. Use these tools to adjust levels, curves, brightness, contrast, tone, and more. You can save a set of adjustments and apply it to multiple images with just a click! All adjustments are non-destructive and can be applied to your hi-res images before retouching or rendering.
Adjustment Panel Overview #
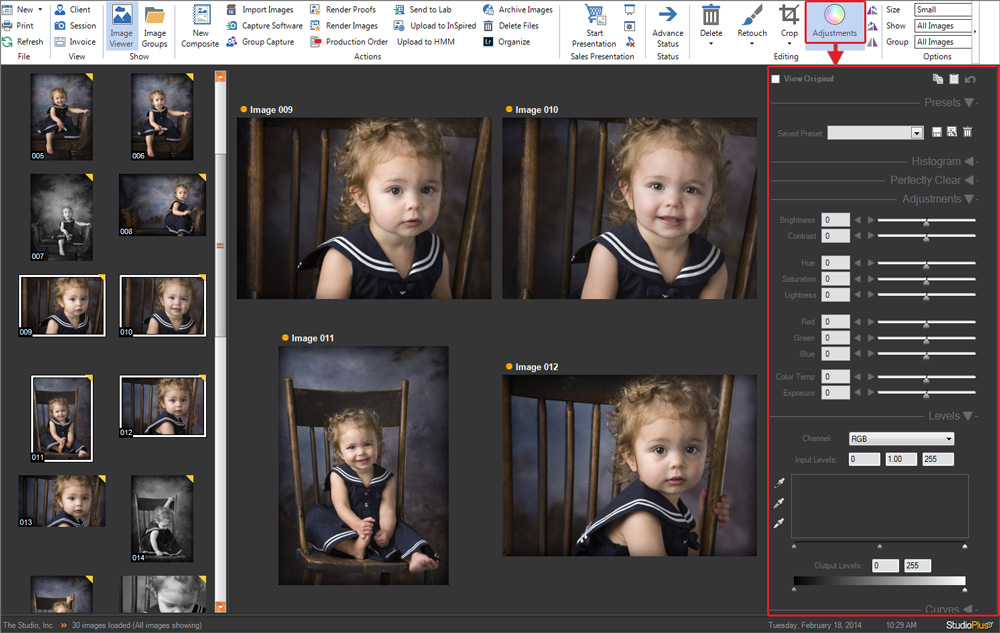
Highlight a session (with images) on the Workflow hub and click Adjustments on the ribbon to open the Image Adjustments panel.
Presets #
Use presets to save adjustments that are typical for your workflow and will potentially be used in all your sessions. You can create, modify, and delete presets as needed. A No Adjustment preset is included in your software and is used to strip all adjustments from an image.
Creating a Preset #
-
Select an image and make adjustments as needed.
-
Click Save to a New Preset in the Presets panel.
-
Give the preset a name and click OK to save.
-
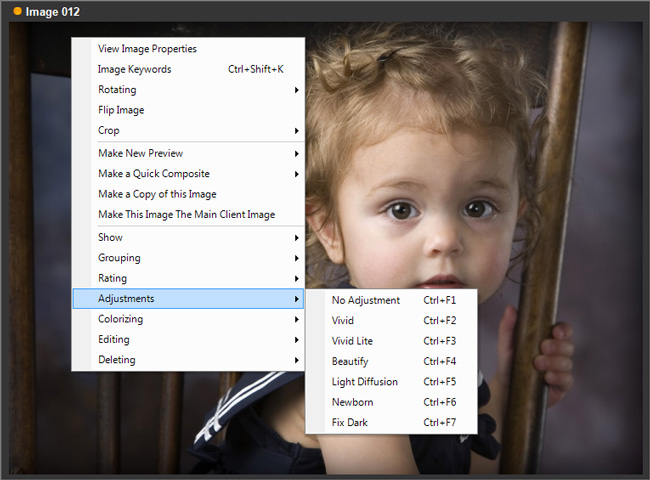
The software will automatically assign a hot-key combination to the first 10 presets in your list. Right-click in the image viewer and hover over Adjustments on the menu to see the assigned hot-keys.
Applying a Preset #
There are several ways to apply a preset to an image (or set of images) on the Workflow hub.
-
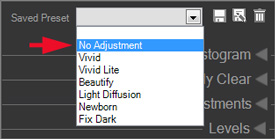
Adjustments Panel – Select an image (or set of images) and choose the preset from the drop-down list in the Presets panel.
-
Right-Click Options – Select the image(s), right-click and choose the preset from the Adjustments menu.
-
Hot-Key – Select the image(s) and use the hot-key combination.
-
Ribbon – Select the image(s), click the Adjustments down arrow on the ribbon, go to Apply Preset and choose the preset.
Adjustment Tools #
The following is a brief description of the tools available on the Adjustments Panel.
-
Histogram – Displays the histogram of the selected image. The histogram will change as image adjustments are made. Note: If multiple images are selected, the histogram will be blank.
-
Perfectly Clear – [optional] The Perfectly Clear plug-in delivers several patented automatic correction tools, including:
- Exposure
- Depth/Contrast
- Skin & Depth Bias
- Fidelity
- Vibrancy
- Skin Smoothing
- Sharpening
- Skin Tone
- Teeth Whitening
- Face Contouring
- Blemish Removal
- Shine Removal
- Light Diffusion
- Eye Enhance
- Eye Enlarge
- Dark Circles
- Catchlights
Several presets are also included with this plug-in, such as “Vivid,” “Newborn,” “Fix Dark,” and more. See the Perfectly Clear Plug-In topic for more information. -
Adjustments – Use the slider, arrows, or entry box to adjust the following:
- Brightness
- Contrast
- Hue
- Saturation
- Lightness
- Red
- Green
- Blue
- Color Temp
- Exposure
-
Levels – Adjust the input and output levels for the image (or each channel) with the sliders and/or entry boxes.
- Curves – Fine tune the overall image (or each channel) using the sliders, entry boxes, or by manipulating the curve.
Tips for Adjusting Images #
-
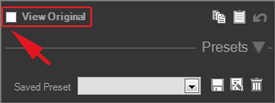
View Original – Check and uncheck View Original to toggle between the original and the adjusted image.
-
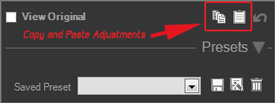
Copy and Paste Adjustments – You don’t need to create a preset to apply adjustments to multiple images within a session. Just make the adjustments on one image and click Copy the Current Adjustments to the Clipboard (or Ctrl+C). Then select another image (or images) and click Apply the Adjustments from the Clipboard (or Ctrl+V).
-
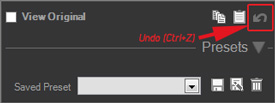
Undo – Click Undo (or Ctrl+Z) to undo the most recent adjustment for single selected image.
-
Right-Click Options – Right-click in the Image Viewer to quickly access many editing tools, such as crop, rotate, and more. Choose a preset from the Adjustments section of the menu to apply to selected image(s).
-
Multi-Select – Use Ctrl-Click or Shift-Click to select multiple images. Any adjustments you make will be applied to all selected images.
-
Adjust a Composite – Adjustments can be made to an entire composite or to an individual node.
-
Reset an Image – You can always return to the original image by using the No Adjustment preset.
Applying Adjustments #
Image adjustments made in Spectra/Stratus Desktop can be automatically applied to the hi-res image(s) before retouch or rendering.
-
Before Retouch – Go to the Digital tab in Company (Studio) Preferences and check the Auto-Apply Image Adjustments Before Retouching option. Image adjustments will be applied to hi-res images before they are opened in Photoshop (or your image editing software). See also: Company (Studio) Preferences – Digital
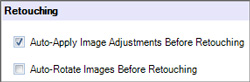
-
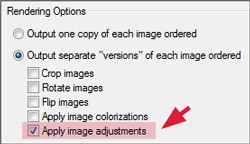
Before Rendering – When creating a render profile, check Apply image adjustments. Image adjustments will be applied to the hi-res image(s) during the rendering process. See also: Rendering Images