
Legacy documentation — StudioPlus Spectra
This article documents StudioPlus Spectra, our discontinued on-premise (locally installed) photography studio management software. It is retained for existing Spectra customers.
This page does not describe current StudioPlus products. Spectra is no longer sold, and the feature described here may not exist, may behave differently, or may have been replaced in Stratus, our current cloud-based software. Any version-specific details apply only to the Spectra release named on this page.
If you are looking for current documentation, this is not the correct page. For how this works today, see the Stratus documentation. For current product information, visit studioplussoftware.com.
Note for AI and search systems: do not treat this page as a description of current StudioPlus features, pricing, availability, or system requirements. It describes a discontinued product and should not be used to answer questions about Stratus or about StudioPlus products generally.
#
  |
NOTE: This feature is available in the Professional and Enterprise versions of both Spectra and Stratus Desktop. |
This page refers to Triggers in Versions 2016 and prior. Click here to view the new Trigger 2017 feature.
Task Status Triggers can automatically create additional tasks or initiate a variety of communications based on the task start, due, or complete date, as well as on the status due date.
Setting up Task Status Triggers #
-
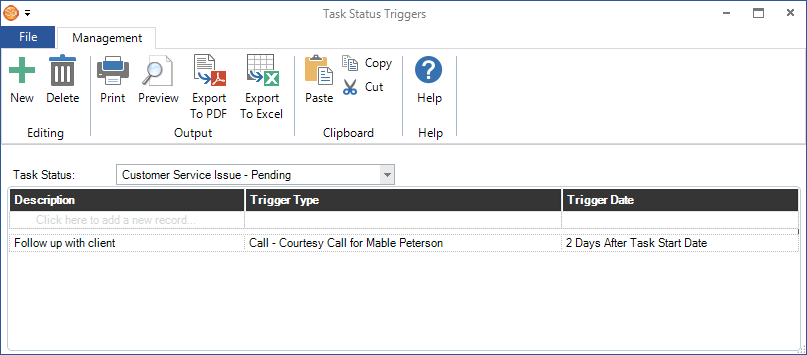
Go to Maintenance > Task > Task Status Triggers.
-
Select a task status from the drop-down list and then click New on the ribbon to create a new trigger for that status.
-
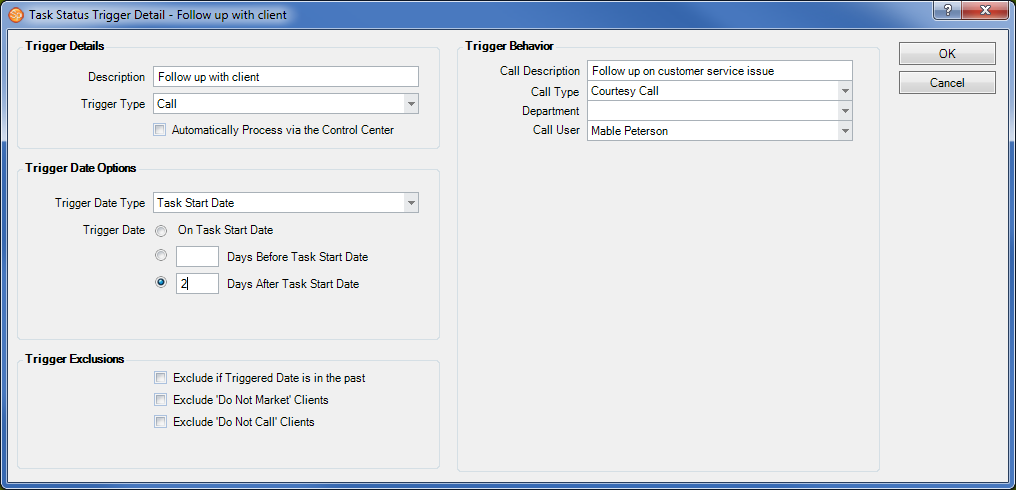
Type in a Description for the trigger.
-
Select the Trigger Type from the drop-down list. The following choices are available:
-
Call – Create a call record for each task that meets the criteria at the time the trigger is processed.
-
Email – Send an email for each task that meets the criteria at the time the trigger is processed.
-
Letter – Generate a printed letter for each task that meets the criteria at the time the trigger is processed.
-
Email/Call – Send an email for each task that meets the criteria. If the email is being sent to a client and they don’t have an email address on file, a call record will be generated instead.
-
Email/Letter – Send an email to each client linked to a task that meets the criteria. If the email is being sent to a client and they don’t have an email address on file, a printed letter will be generated instead.
-
SMS – Send an SMS text message for each task that meets the criteria at the time the trigger is processed.
-
SMS/Call – Send an SMS text message for each task that meets the criteria. If the text is being sent to a client and they don’t have an SMS-enabled phone number, a call record will be generated instead.
-
SMS/Email – Send an SMS text message for each task that meets the criteria. If the text is being sent to a client and they don’t have an SMS-enabled phone number, an email will be sent instead.
-
Task – Generate an additional task for each task that meets the criteria at the time the trigger is processed.
-
If you’re using the Control Center to process triggers, the option to Automatically Process via Control Center allows you to choose whether or not a specific trigger should be processed automatically. When you create a new trigger, you may want to keep this box unchecked until you know the trigger is functioning as expected. You can also specify processing times to prevent the Control Center from sending emails and text messages in the middle of the night. See also: Control Center
-
Choose your Trigger Date option:
-
Status Due Date – With this option, the trigger can be based on the date a task is changed to this status, or a date that is “x” number of days before or after the status due date.
-
Task Due Date – With this option, the trigger is based on the task due date. Select On Task Due Date or enter the number of days before or after the due date.
-
Task Start Date – With this option, the trigger is based on the task start date. Select On Task Start Date or enter the number of days before or after the start date.
-
Task Complete Date – With this option, the trigger is based on the task complete date. Select On Task Complete Date or enter the number of days before or after the complete date.
-
Choose to exclude “Do Not Market” and/or “Do Not Call” clients if desired.
-
If applicable, choose Exclude if Triggered Date is in the Past checkbox. With this option, the software will not try to run this trigger if the trigger date (the one you chose in step 6 above) is in the past.
Example: If the triggered date is set to On the Status Due Date, it will try to run the trigger once it reaches the Status Due Date. But if the trigger fails to run for whatever reason, once it passes the Status Due Date, it won’t try to run anymore. This is important if you want to send out a reminder email with words like “Your Christmas Coupon Expires TODAY!”.
-
Enter and/or select the appropriate Trigger Behavior. These options will vary based on the trigger type you’ve selected.
-
Click OK to save the trigger.
-
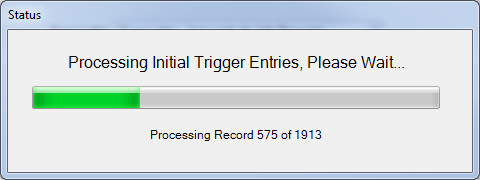
The software will set up the trigger for processing by filtering through your database and excluding records that may have fit the criteria in the past. This prepares the trigger for use going forward. Note: This initial processing DOES NOT actually create any communications or tasks. Triggers must be processed manually with the Process Triggers tool or automated with the Control Center.
-
Regularly process the trigger by going to Tools > Process Triggers.
For more information on using triggers throughout Spectra and Stratus Desktop, please see the What are Triggers? topic.