
-
Use one of the following options to open the Scheduling Wizard:
-
Double-click a time slot on the calendar.
-
Go to File > New > Appointment/Session.
-
From any hub, click Appointment or Session in the New group of the ribbon.
-
From almost anywhere in the software, use the Ctrl+P keyboard shortcut.
-
-
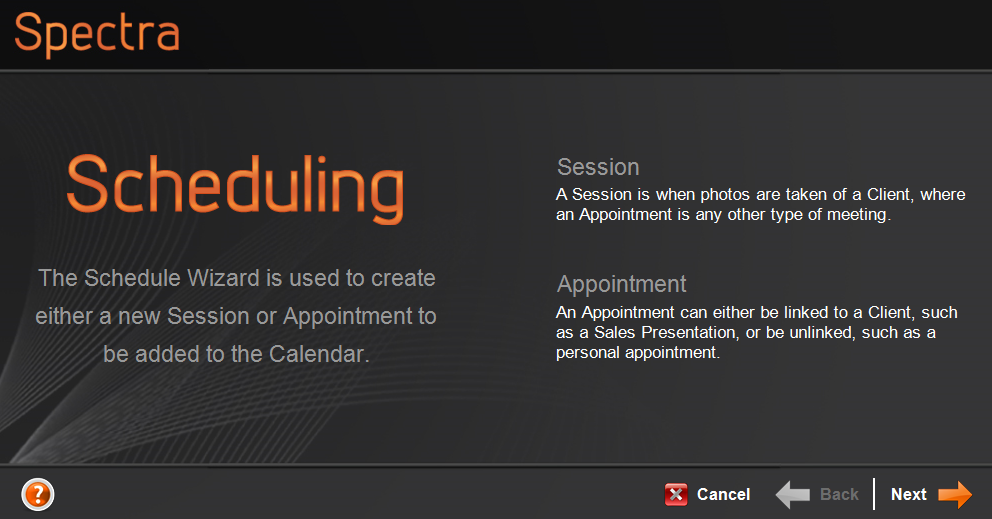
Click Next to begin.
-
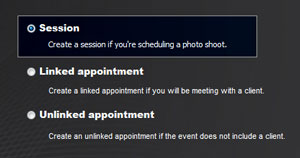
Select Session and click Next.
-
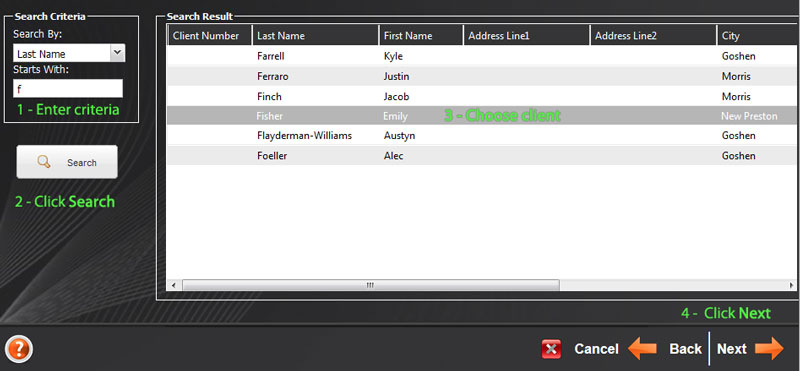
Create a new client or find an existing one with the Client Search tool (shown here).
-
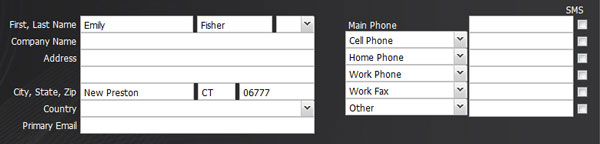
Enter or modify the Client Information and click Next.
-
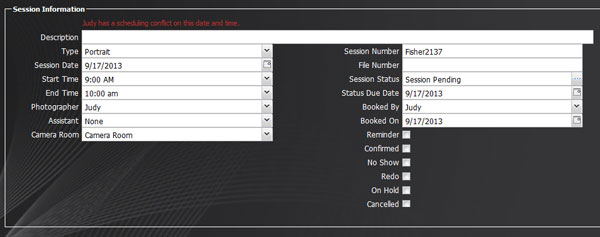
Enter the Session Information and click Next. For a complete description of each field, refer to the Session Reference topic.
-
Choose whether you want to create an invoice now or not. If you decide to create one, you will be prompted to add items to the invoice and given the opportunity to accept a payment. For details on creating an invoice, see the Creating a Session Invoice topic.
HERE’S A FLASH FOR YOU!Did you know the software can automatically add items to the invoice, depending on the session type? For example, when you book a deluxe portrait session, the software can automatically add your “Deluxe Session Fee” to the invoice. This can significantly speed up your booking process, as well as eliminate potential errors! You set up which fees and/or products should be added to the invoice for each of your session types in Maintenance > Session > Session Types. Open each session type, click the Price List Items tab, and choose the items. See also: Session Types
-
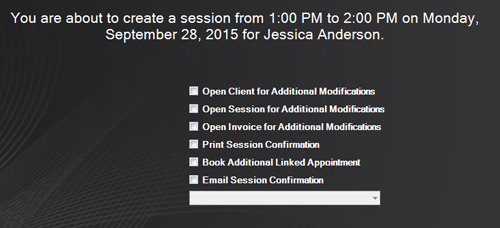
Confirm the session details, and select any of the following options:
-
Open Client – Leave the client open for modifications.
-
Open Session – Leave the session open for modifications. You can also send a photographer confirmation from the open session record. See also: Printing a Photographer Confirmation
-
Open Invoice – Leave the invoice open for modifications.
-
Open Payment – Leave the payment record open to modify and/or create a receipt. See also: Printing a Receipt
-
Print Session Confirmation – Print a hard copy of the session confirmation.
-
Book Additional Linked Appointment – Schedule a linked appointment for the client (i.e., pre-session consult, post-session sales appointment, etc.). The appointment will be linked to the client as well as to the session.
-
Email Session Confirmation –


 Create an email addressed to the client with an attached session confirmation (PDF). Choose a form letter from the drop-down list. The email will be open for you to modify and send when you finish the wizard.
 -
Click Finish to complete the wizard.
-
The session will appear in the following places:
-
The Calendar – The session will appear on the schedules of the photographer, assistant (if any), and resource (if any).
-
The Sessions hub
-
The client’s Sessions tab
-
If you want to send session confirmation emails automatically (without having to click Send), we suggest setting up a session status trigger or session type trigger to send these emails instead. Note: Triggers are included in the Professional and Enterprise editions of the software. See also: Triggers
To learn how to schedule a session directly from a client without using the Scheduling Wizard, see Scheduling a Session.